This page contains print-at-home instructions for people who purchased and downloaded the digital files for the influencer handle.
- The files are in both .3MF and .STL format which should import easily into your slicer.
- I have included the proper supports in the .3MF files. You may notice that some of the components print upside down. This is to improve support or final quality.
- The handle prints great in both PLA and PETG, but I highly recomend PETG. This is a product that may be shipped in a hot delivery truck, or may end up in a hot car.
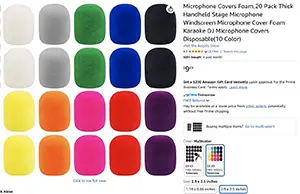
- The foam cover that is seen with the Standard size handle is purchased seperately. I am not an affiliate with the manufactuer. You can acquire these covers however you wish. Here is a link to one Amazon site. These covers are working well for me.
- There are two horizontal embossments on the Carrier which allow the Cage to snap over. If it is a tight fit, these can be sanded down a little.
- The real glory of the handle is in what YOU create for it. It’s really just a blank canvas for a 3D print deisgner to work with. Most things can be glued to the branding plates and avatar clips. There is little need to design the parts to be integral. That being said, in some cases I did make a “negative” cylindrical part on my slicer the same size as the handle (25mm dia.) and used it to cut out a hollow in a few avatars so that they could slide onto the handle itself.
- You can also use a negative part to hollow out a curved portion of the back of your avatar so that it glues up flush with the handle.
i am happy to post additional printing information, just send me your question