This is a demo store for testing purposes — no orders shall be fulfilled. Dismiss
Skip to content
If you have downloaded the design files then click the button above or here for
Print-At-Home Instructions and design tips.
The DIY-Kits come with an assembly instruction sheet which can be downloaded here.
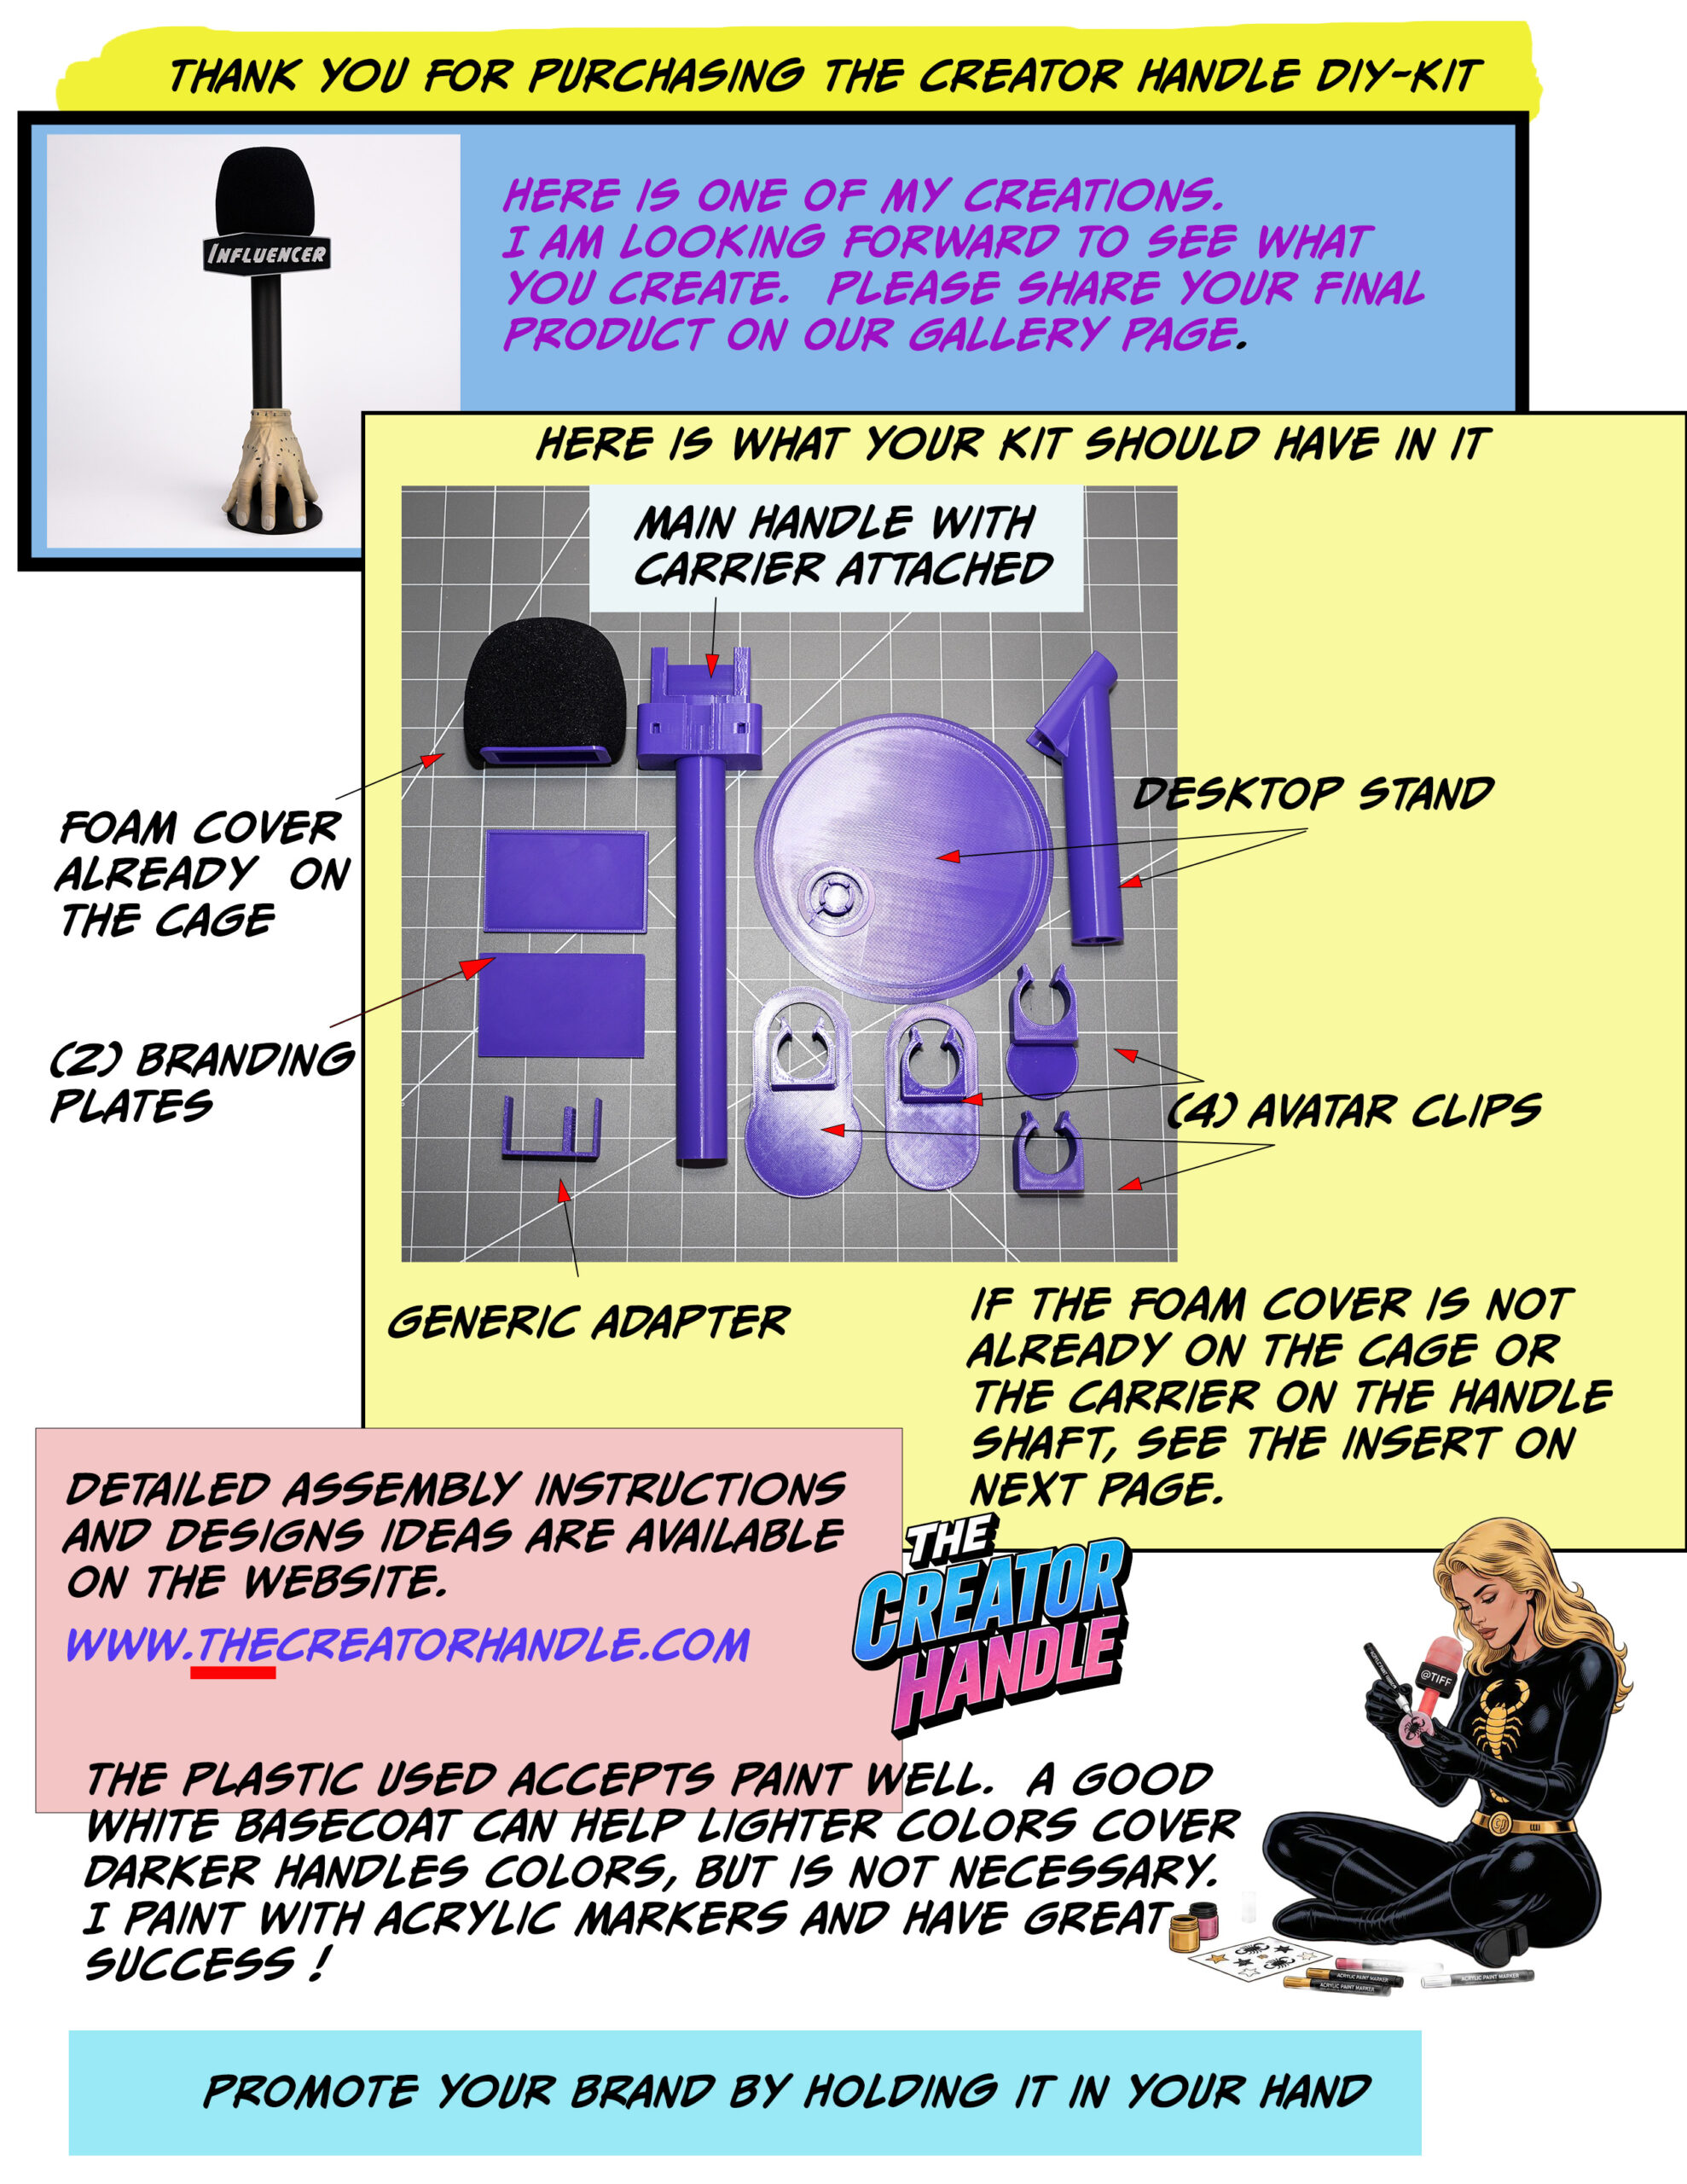
This video takes you through all the components that are included in the Influencer Handle DIY-Kit sold on this website. The DIY-Kit has all three handle sizes: Standard, Medium and Mini. The kit inludes Branding Plates and Avatar Clips for you to decorate on your own as well as a Desktop Stand and a generic microphone adapter. Please click on the video to play it.
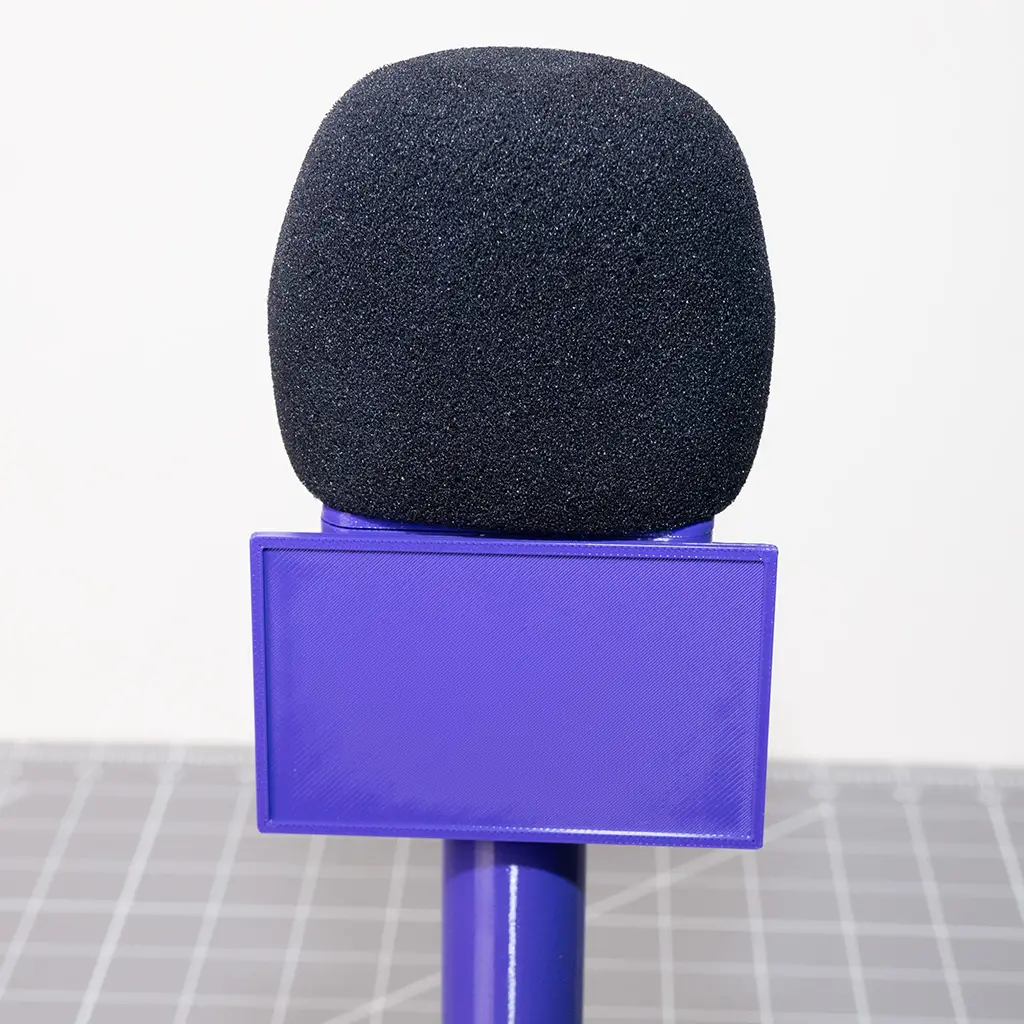
This is the standard size handle. This is the DIY-Kit as it arrives. The customer then decorates the handle. It is the only handle with a foam cover. The cover is sold with the kit and you pick both the handle and foam colors at checkout. For those people who download the print-at-home files, you will need to purchase a foam cover(s) seperately. An Amazon link is here. Again, only print-at-home purchases require buying the foam cover seperately.
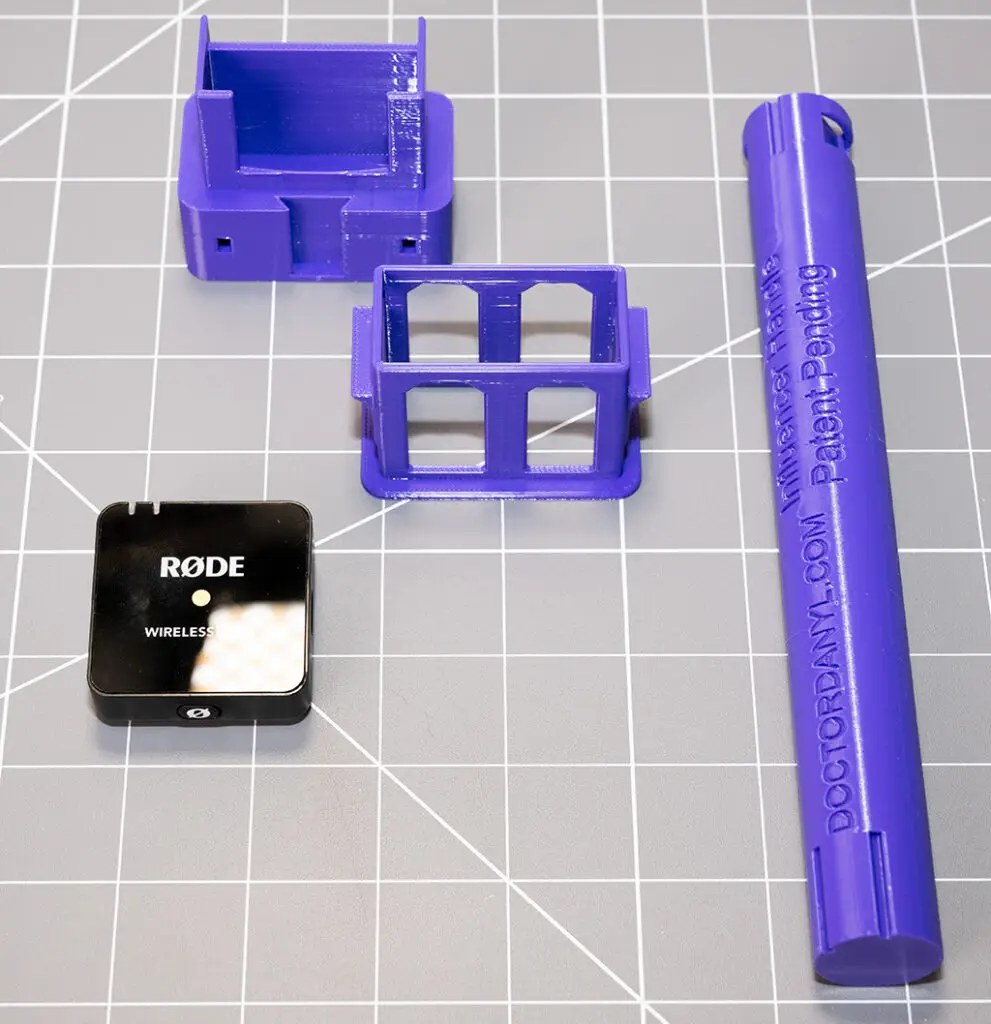
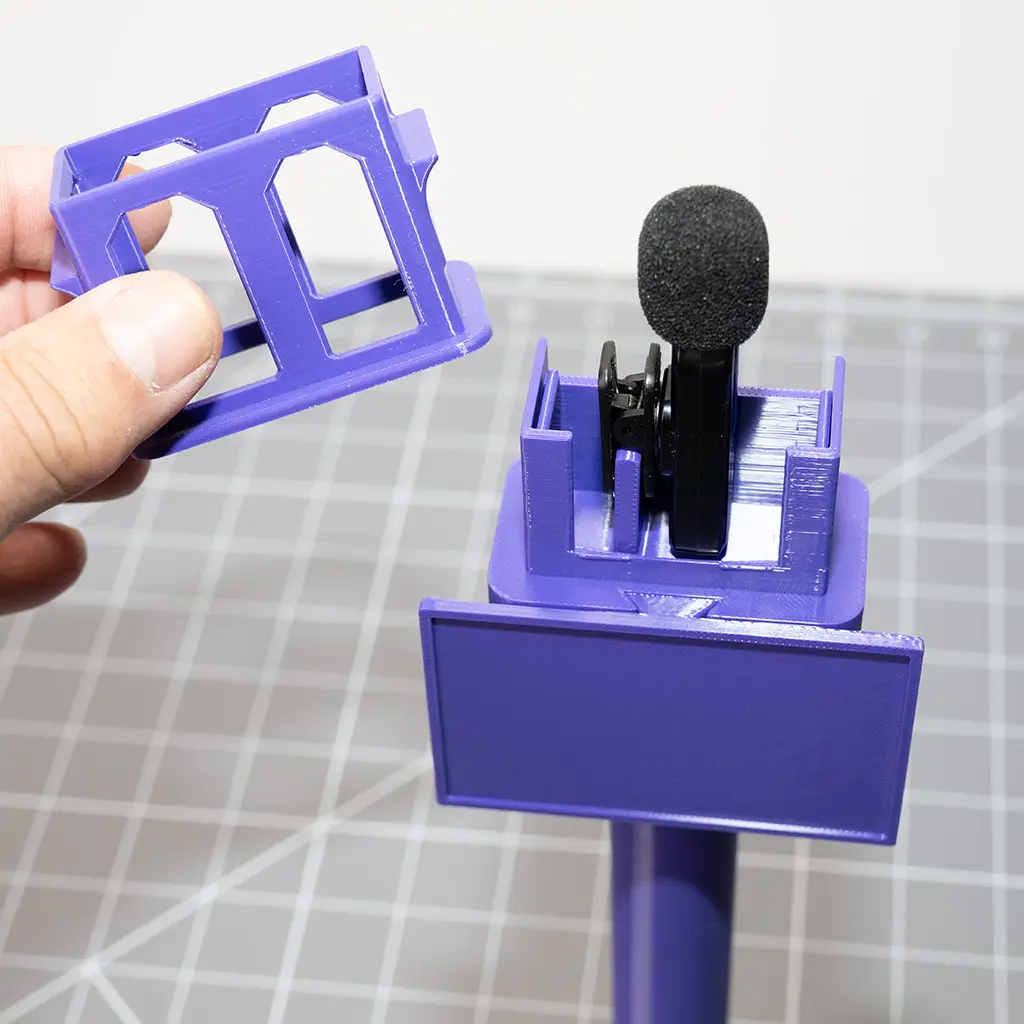
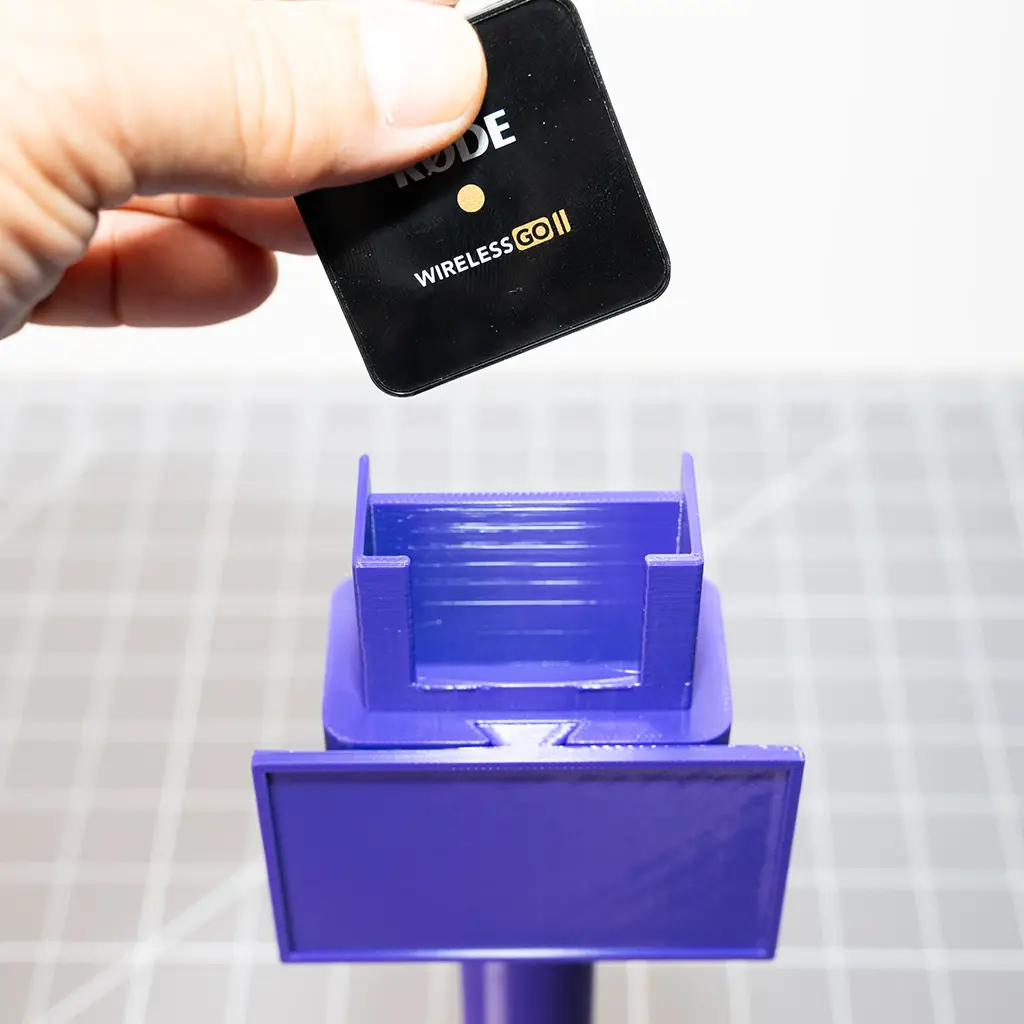
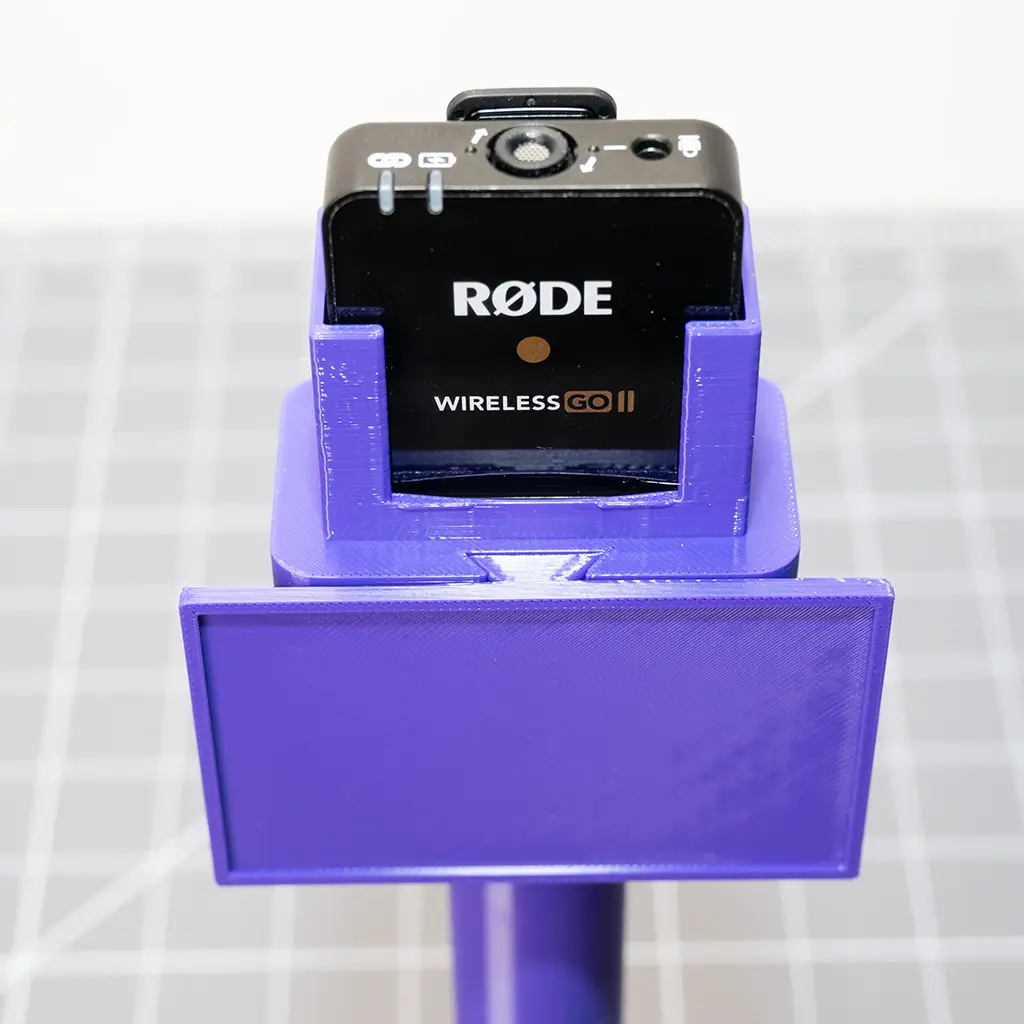
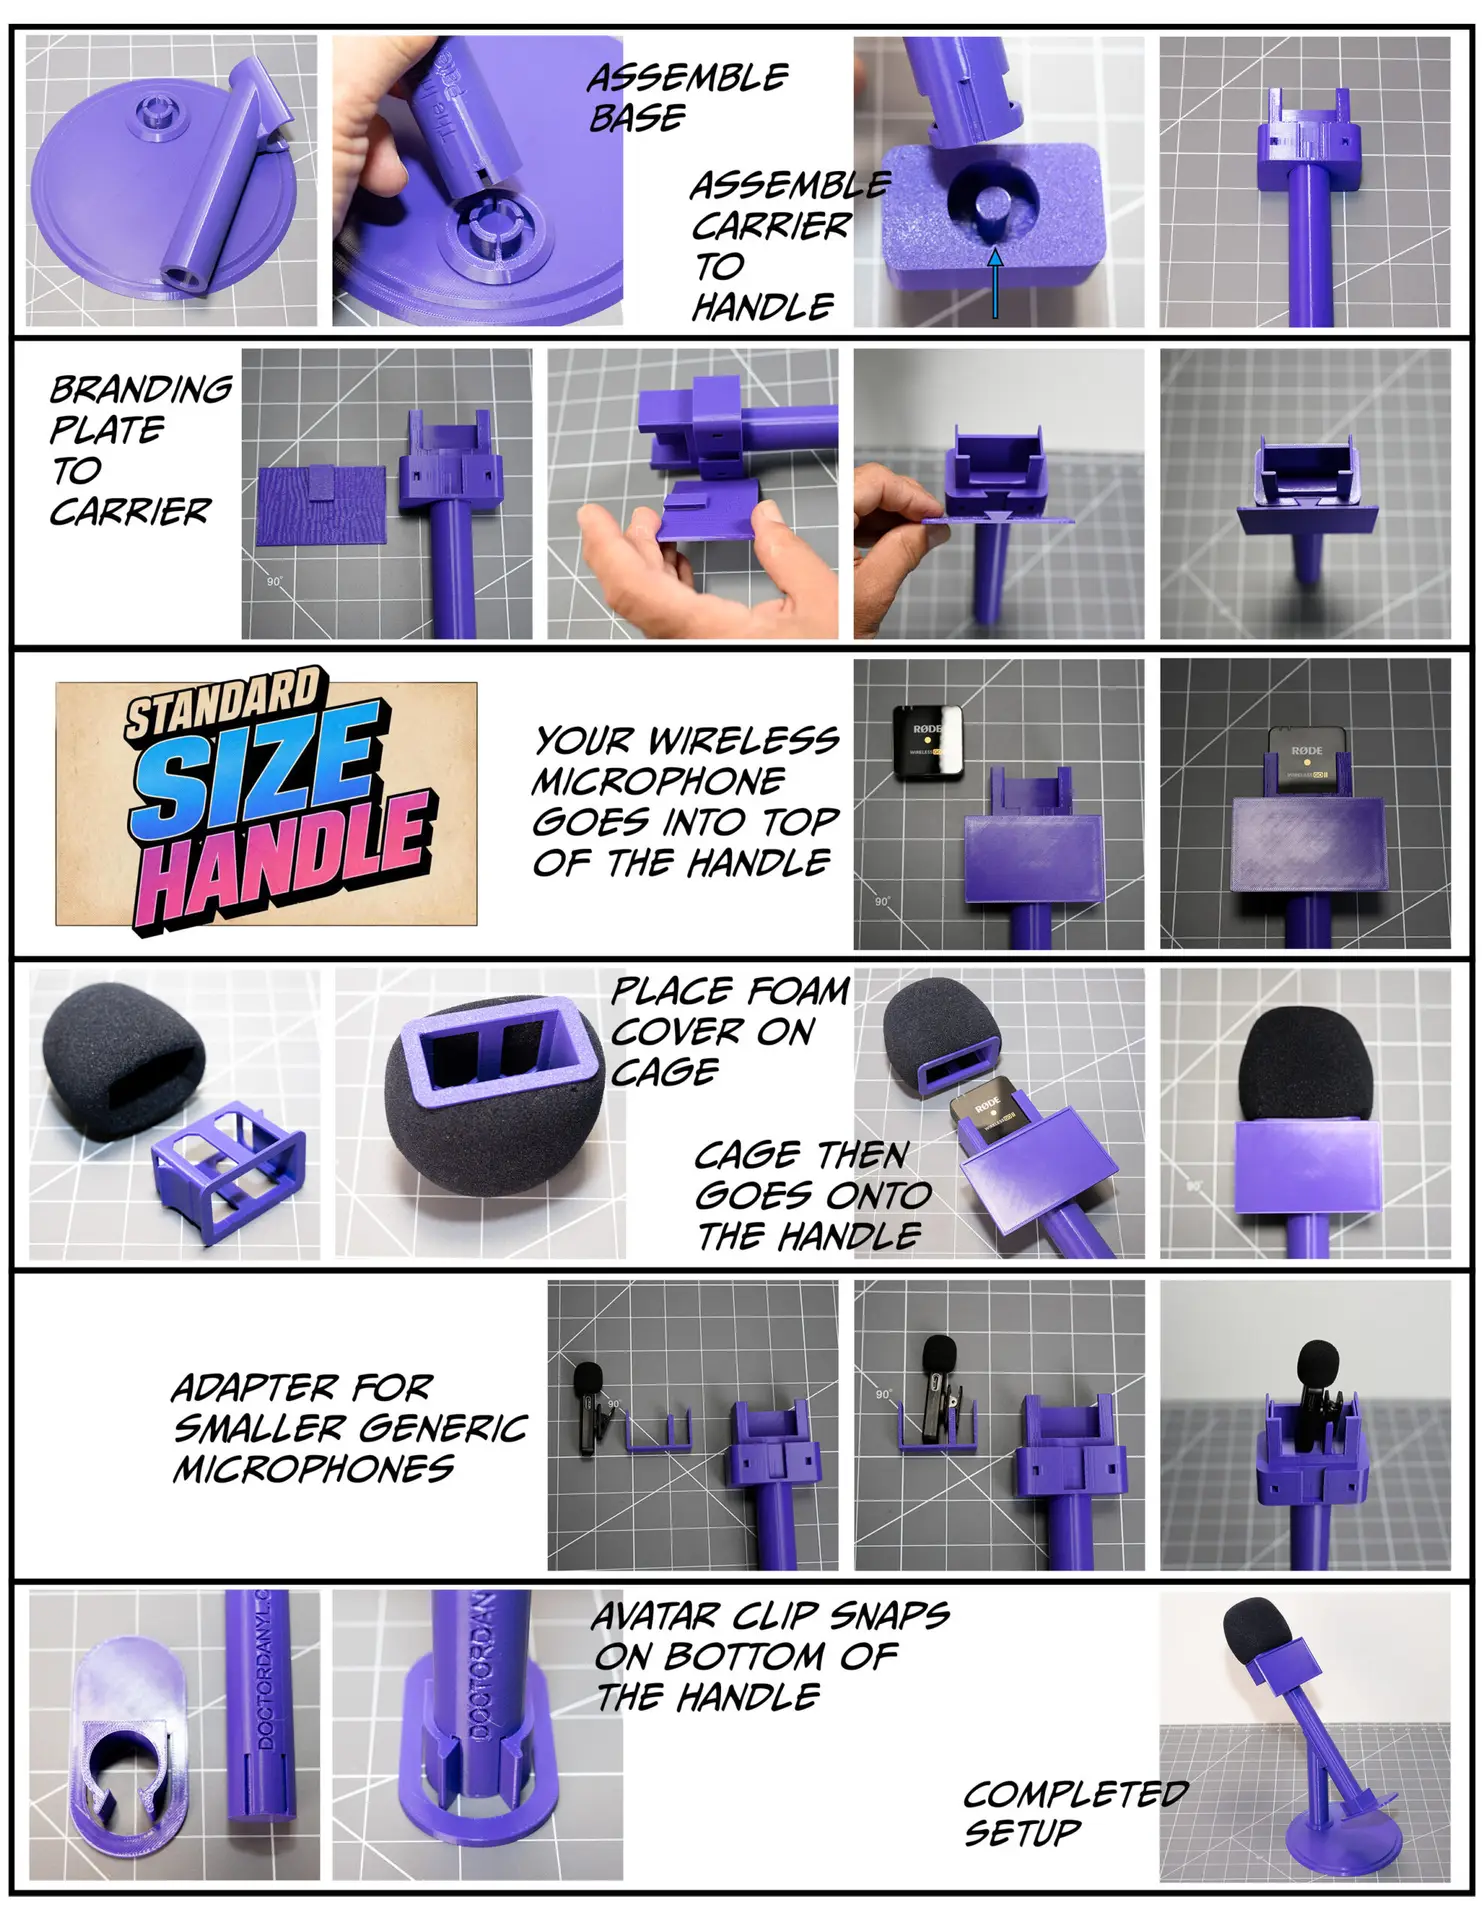
Here you see the Cage, Carrier and handle shaft. A RODE wireless microphone is being used in the assembly example. The “Carrier” permenantly snaps onto the handle shaft. The carrier then accepts the wireless microphone of your choice. The “Cage” will have the foam cover applied to it. The cage, with the foam permenantly attached, then comes on-and-off the carrier everytime you wish to remove the microphone for charging.
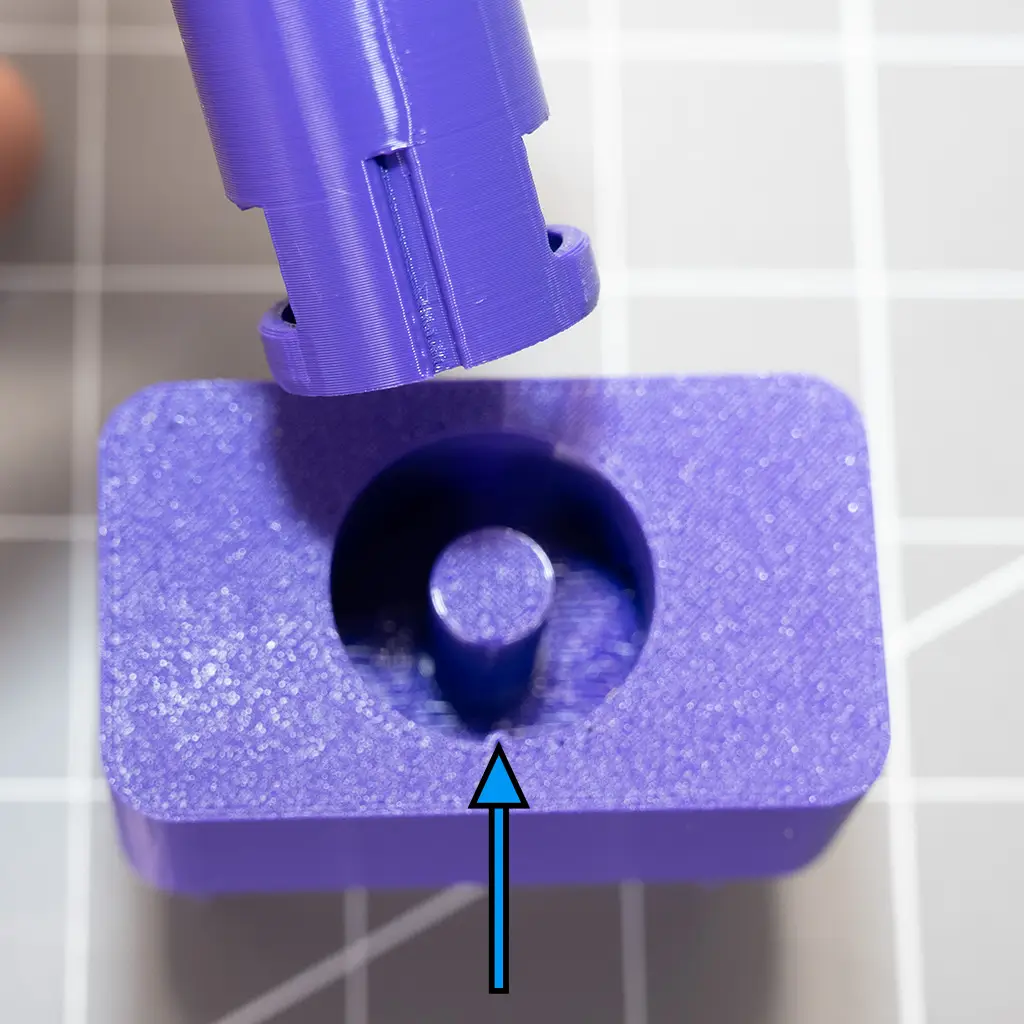
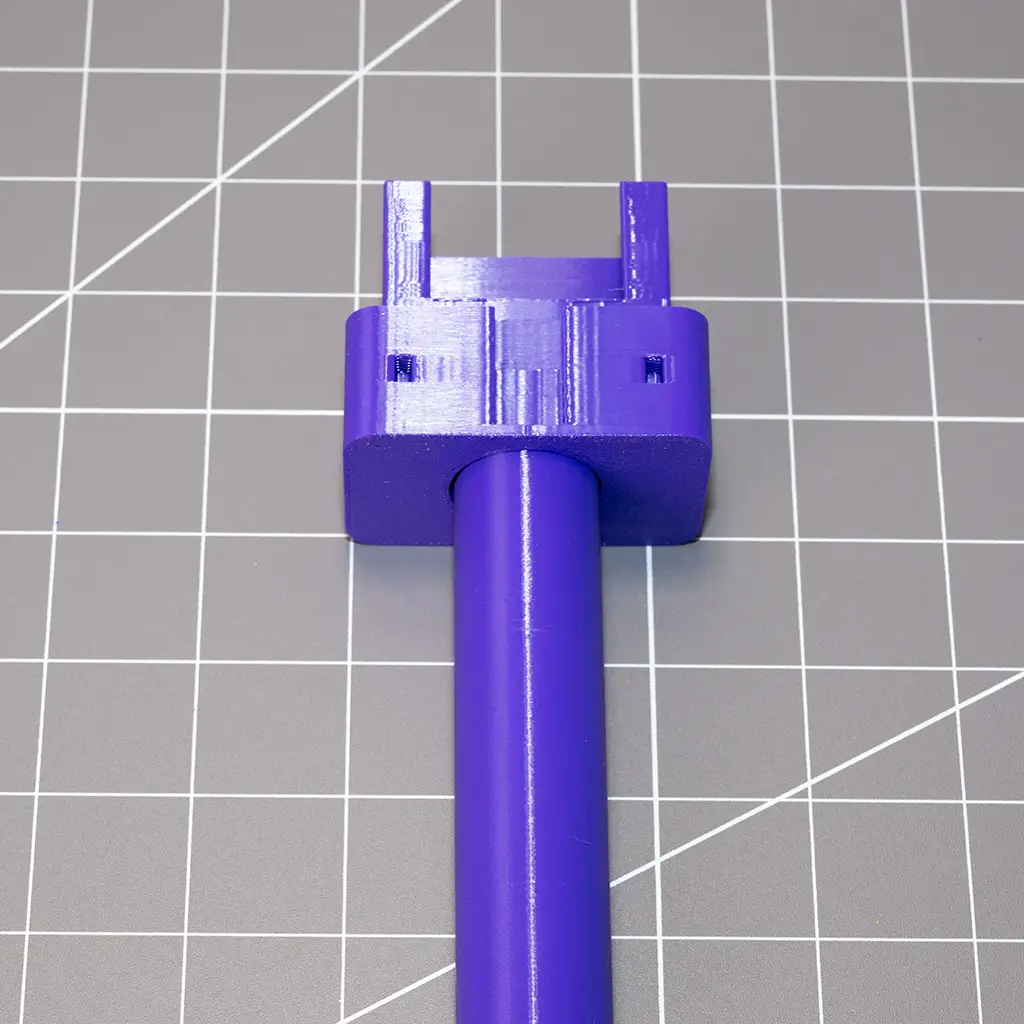
The Carrier, which holds the wirless microphone, is being snapped onto the handle shaft. Be certain to line up the channel. DIY-Kits should ship with the Cage already attached to the handle shaft. I urge vendors to pre-assemble this component for customers. Once the two pieces are joined, they are not meant to be disassembled again. If necessary, a twisting back-and-forth motion can safely dislodge the locking mechanism, so the shaft can be pulled back out. Don’t just yank on it. The snapping tabs will break under force.

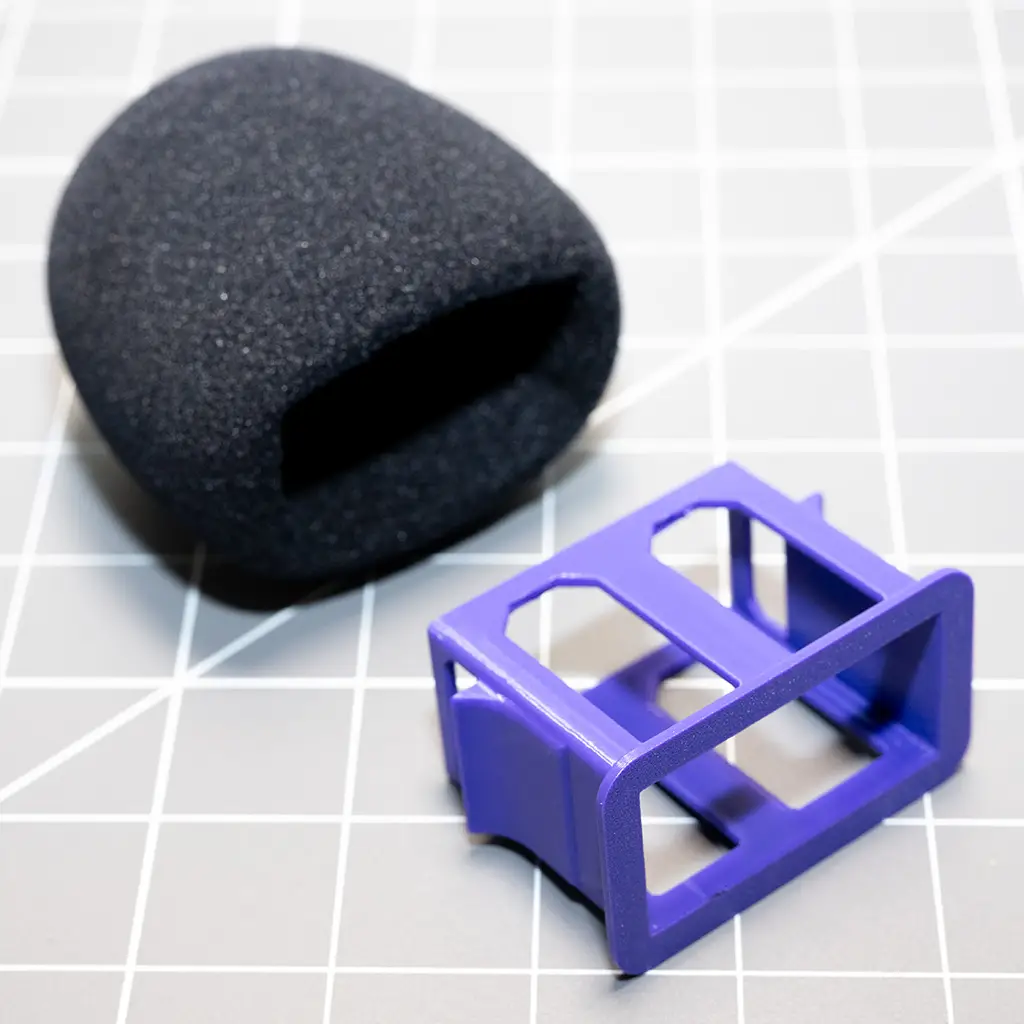
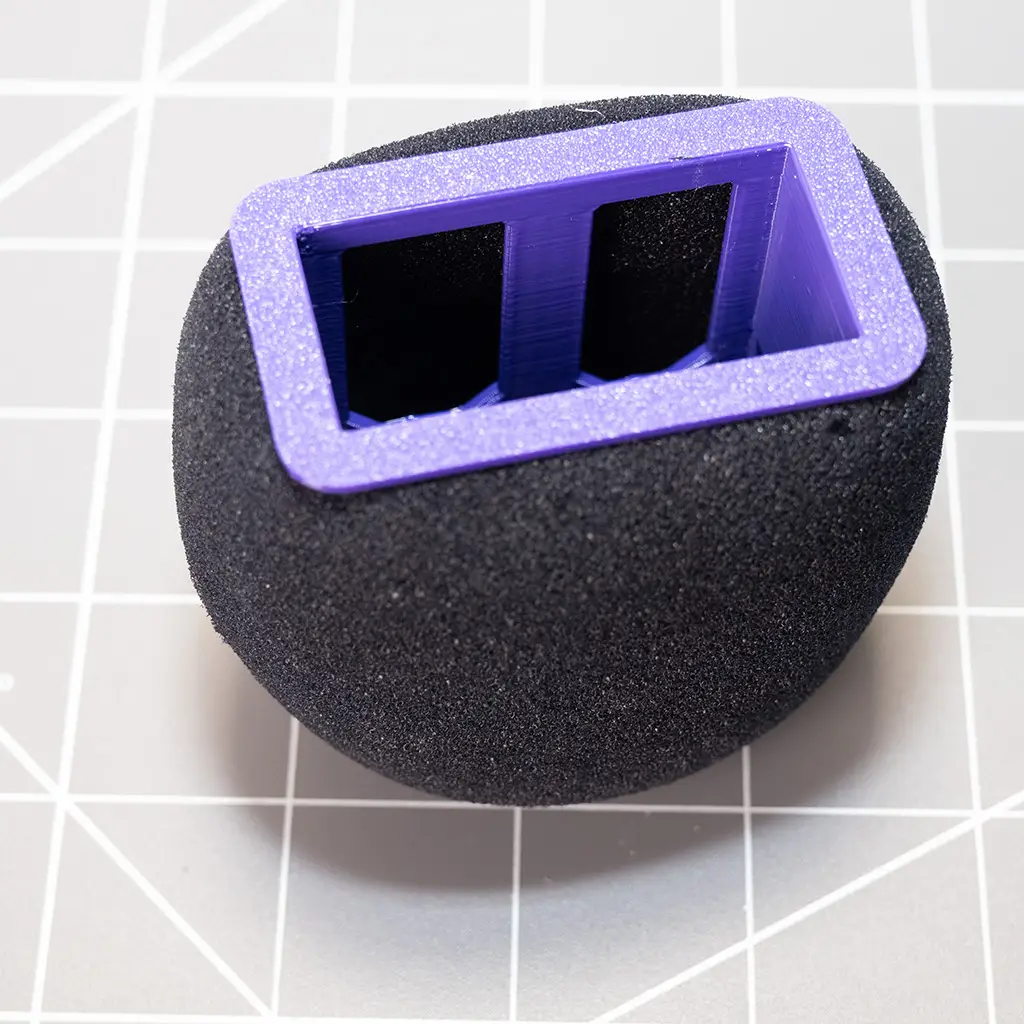
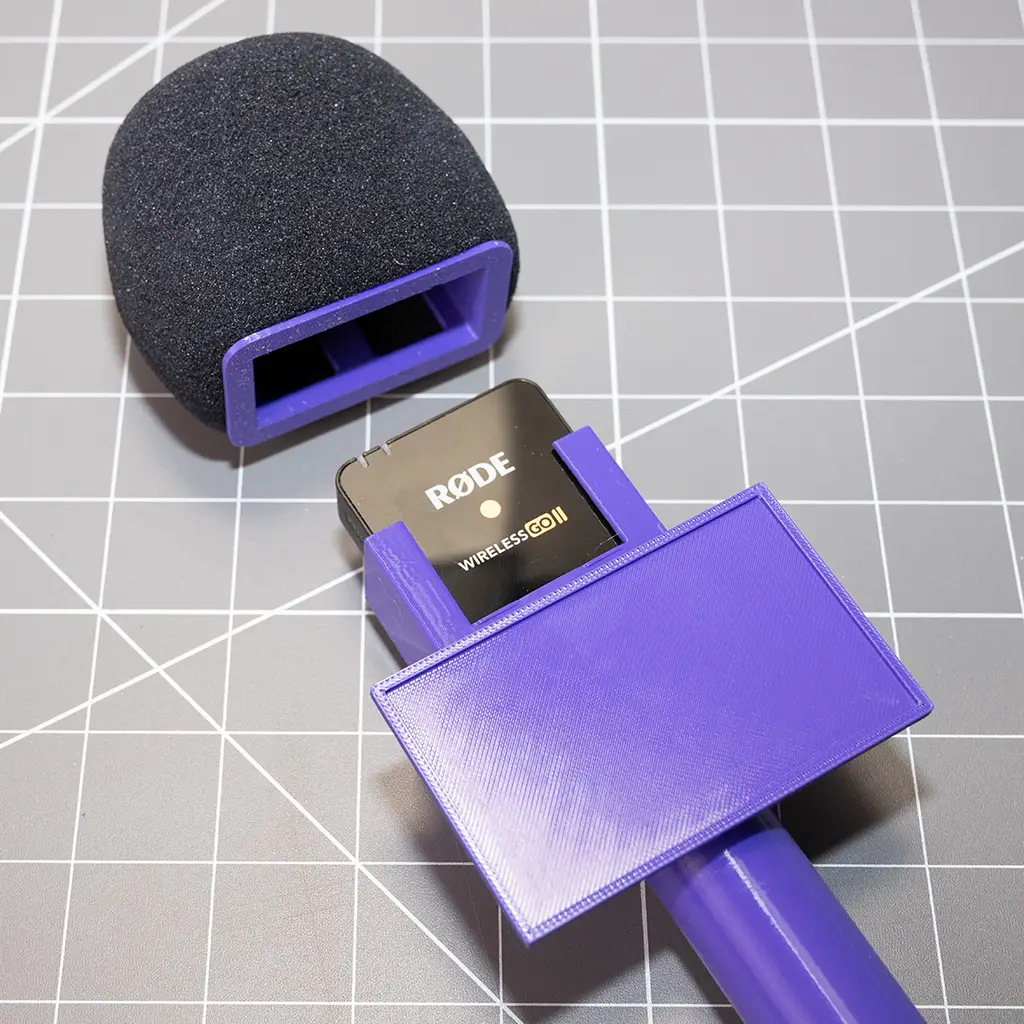
The foam cover gets pulled over the “Cage”. Once they are together they are used as one unit. Don’t try and take the foam on-and-off the cage. It will tear over time if you do so. There are wings on the cage that keep the foam from sliding off and also make it easier for a person to pull the whole cage/foam unit on-and-off the handle when changing the microphone out for charging. The DIY-Kit will most likely come with the foam cover already installed on the cage.
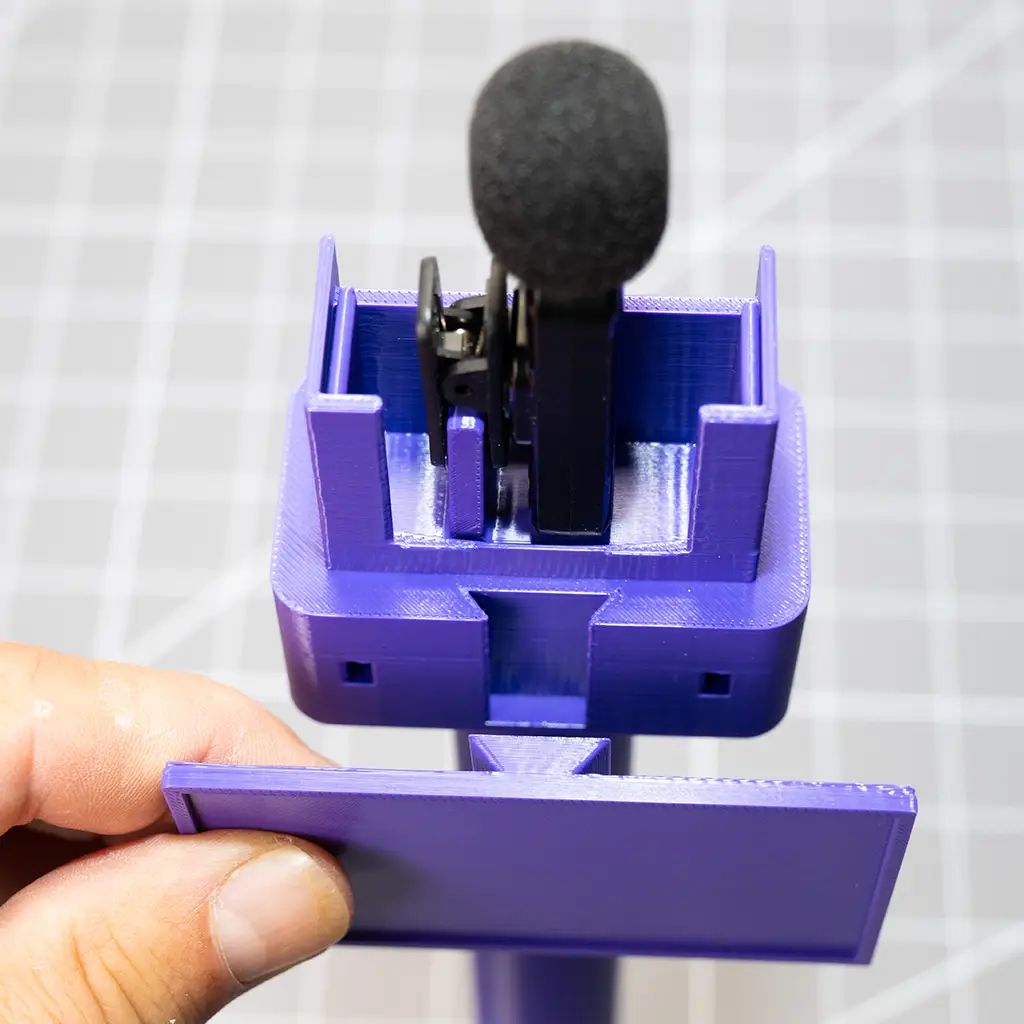
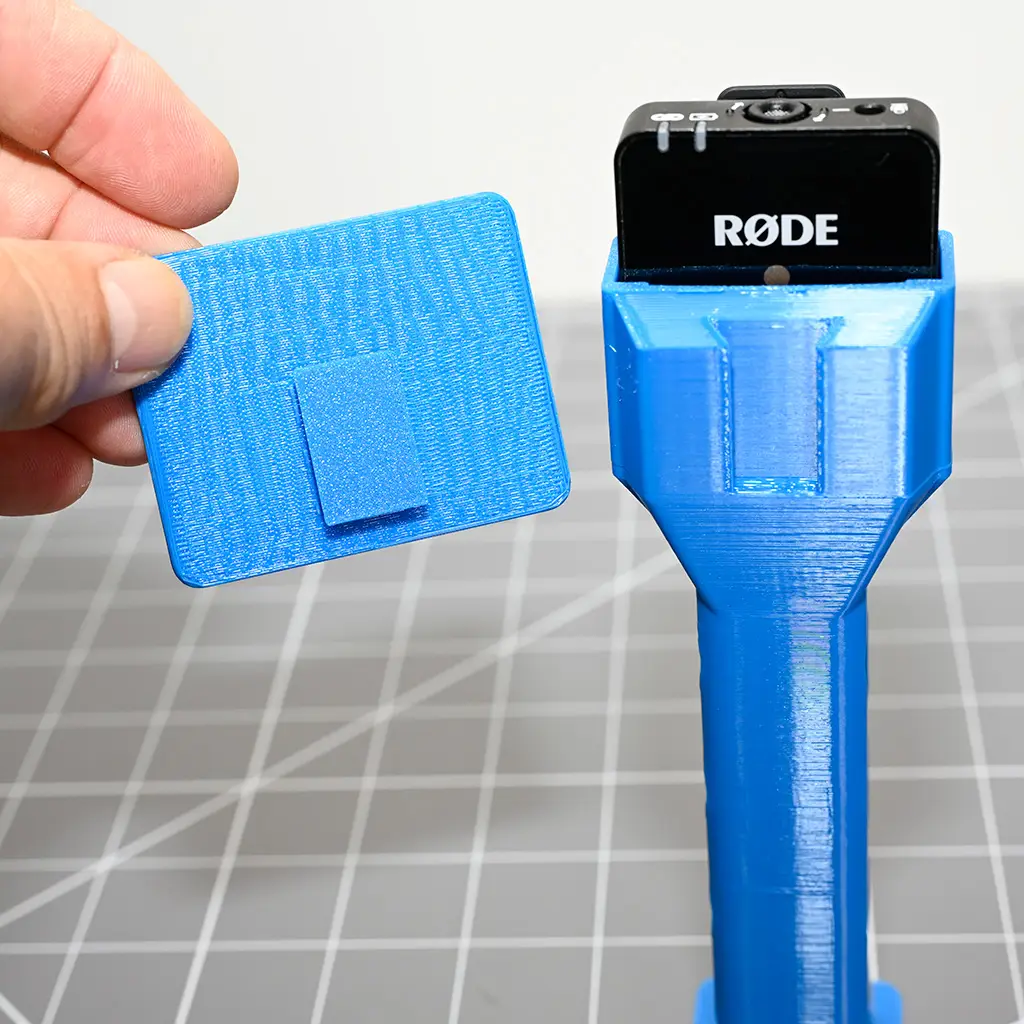
The Branding plates (once decorated) attach to the Carrier by a dovetail style connection. The dovetail slides into its corresponding groove. It is then locked in place when the Cage is slid over the carrier. A generic microphone is seen with its adpater for the example. Also, the foam cover is not shown on the cage at this time, but normally it would already be attached to the Cage.
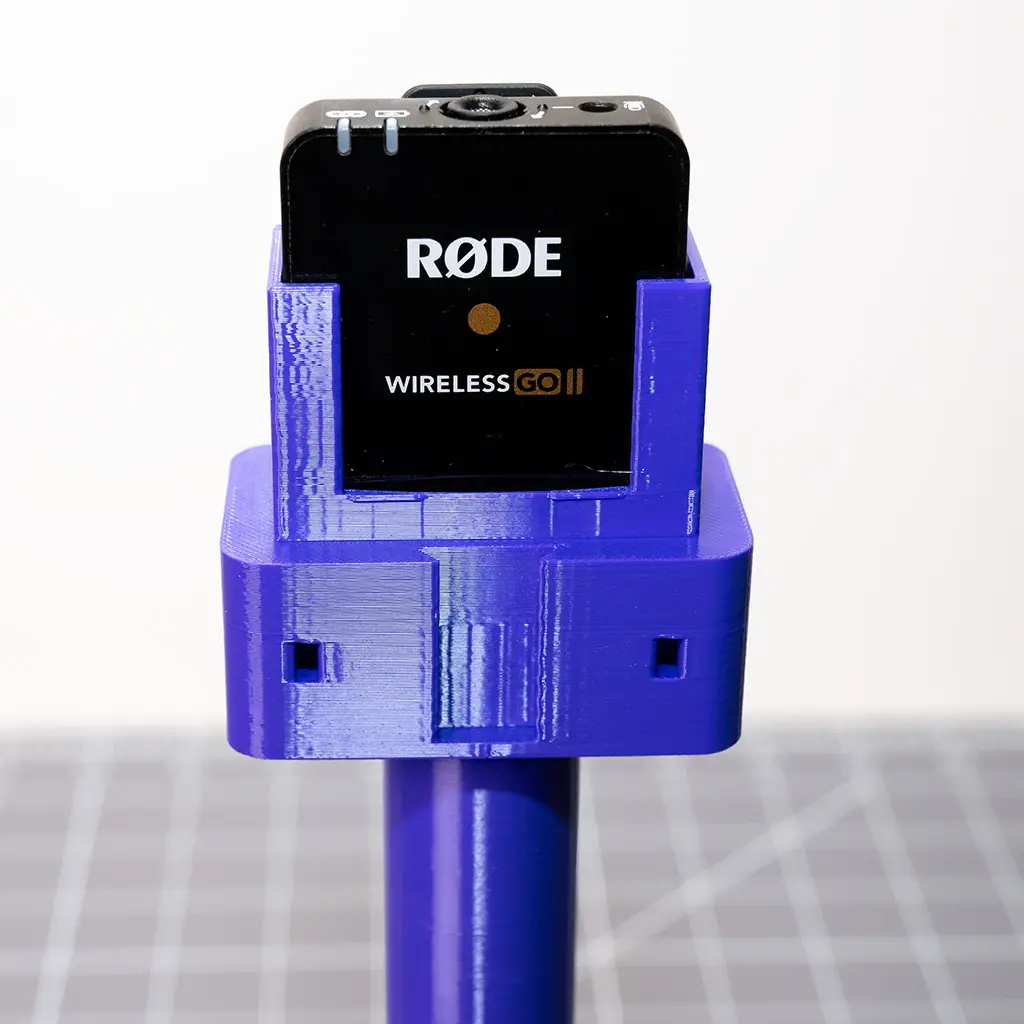
Here you see a RODE wireless microphone being inserted into the handle. I am not an affiliate of RODE, so I say this truthfully: Their customer service is above-and-beyond!
The foam cover and cage are slid over the carrier as a single unit. The carrier already has the RODE wireless microphone in it. This is for illustration only. No product comes with a wireless microphone. The branding plate from the DIY-Kit is ready for decoration.
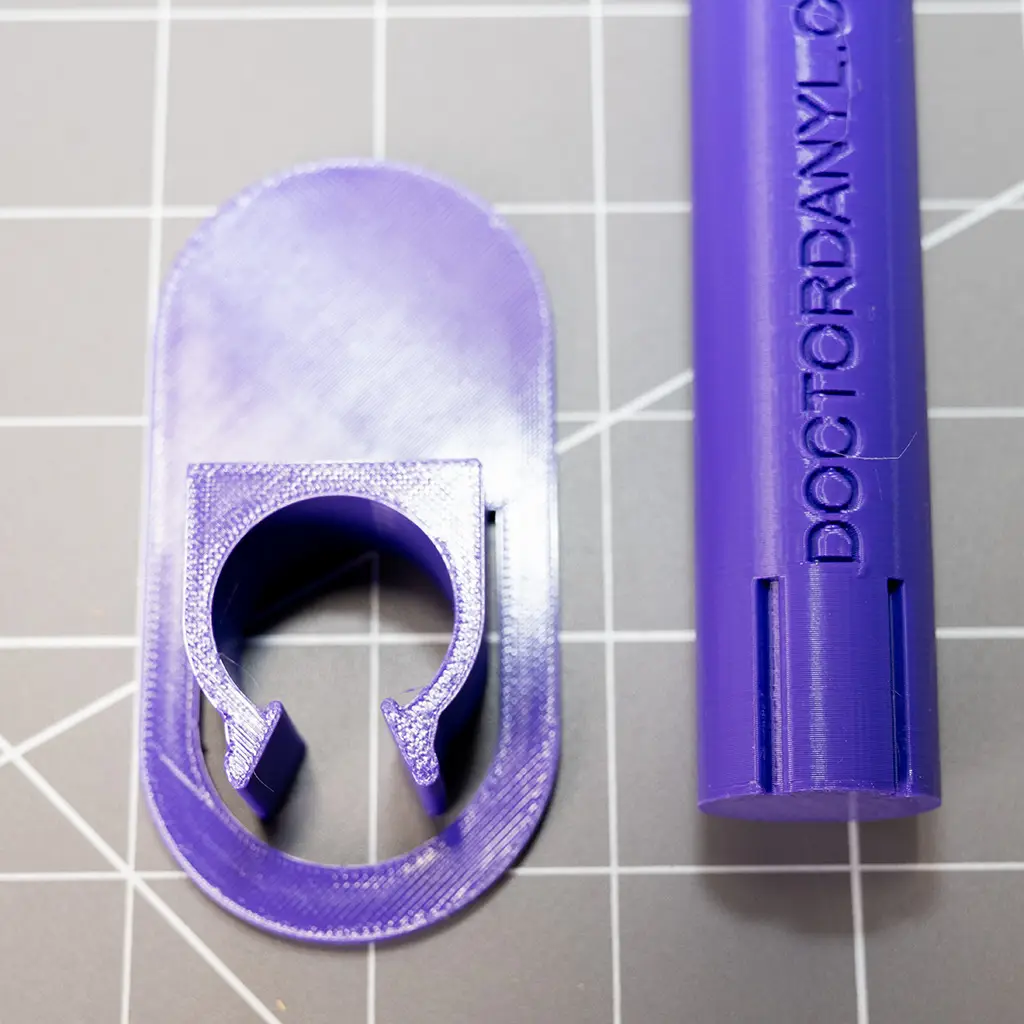
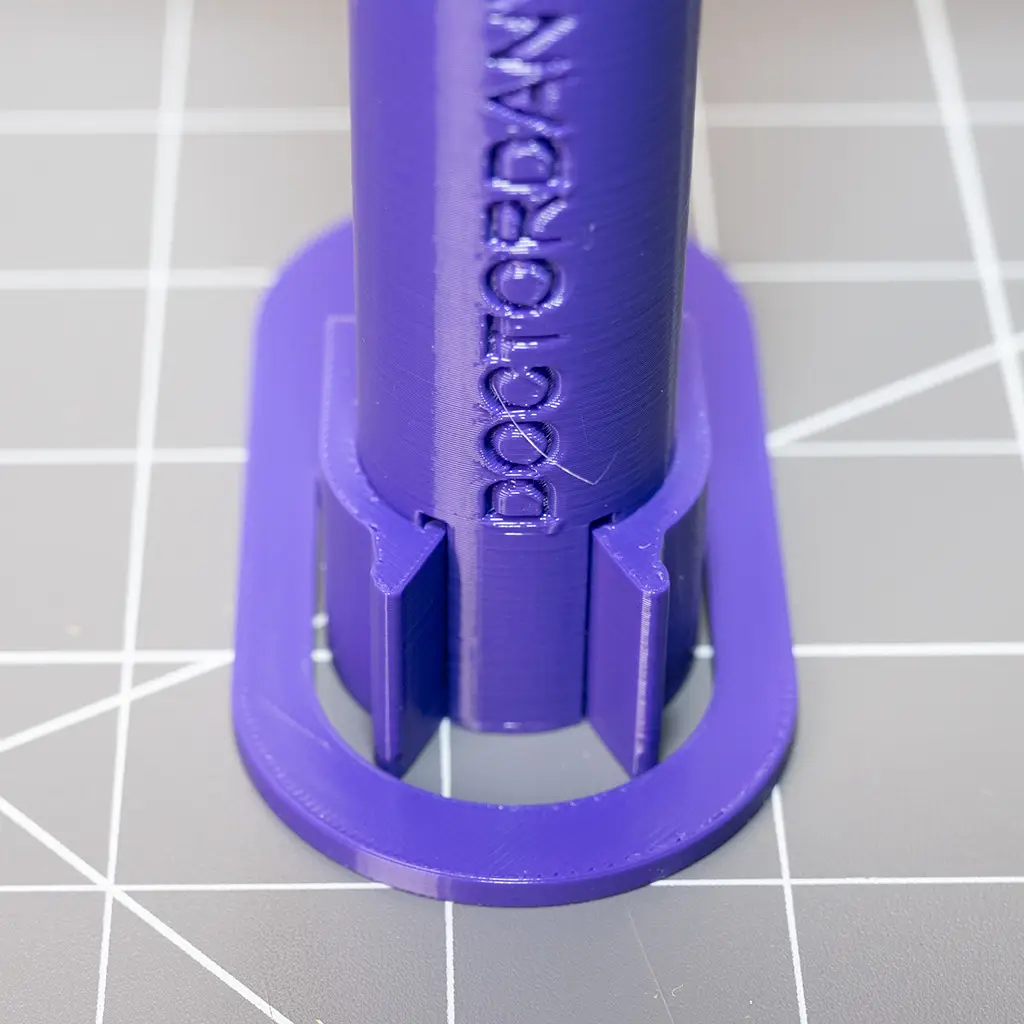
Here is an Avatar Clip. This is a base that your personalized avatar is fastened to. The clip then slides onto the bottom of the handle shaft. Avatar clips, like the Branding plates, are modular and interchangeable items. They are made to be taken on-and-off many times. The two tabs help pull open the clip for assembly and removal.
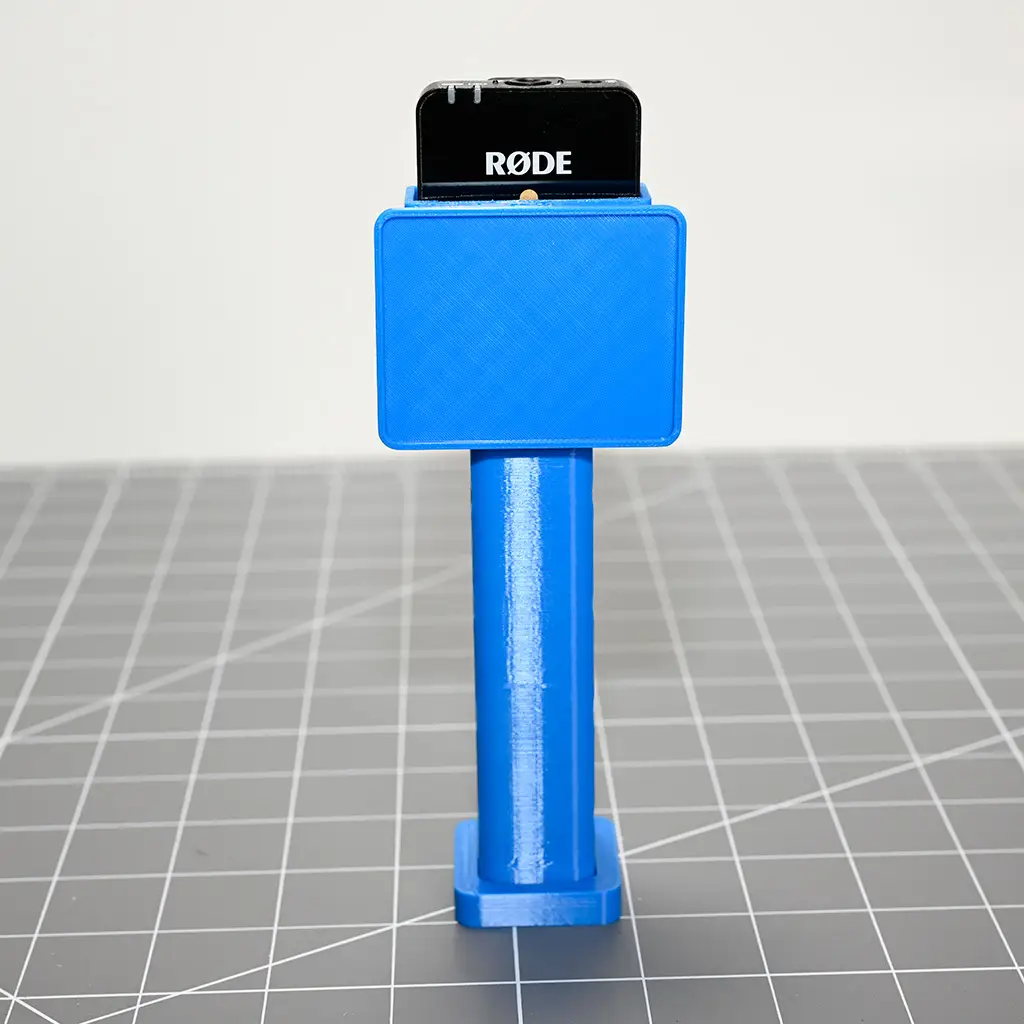
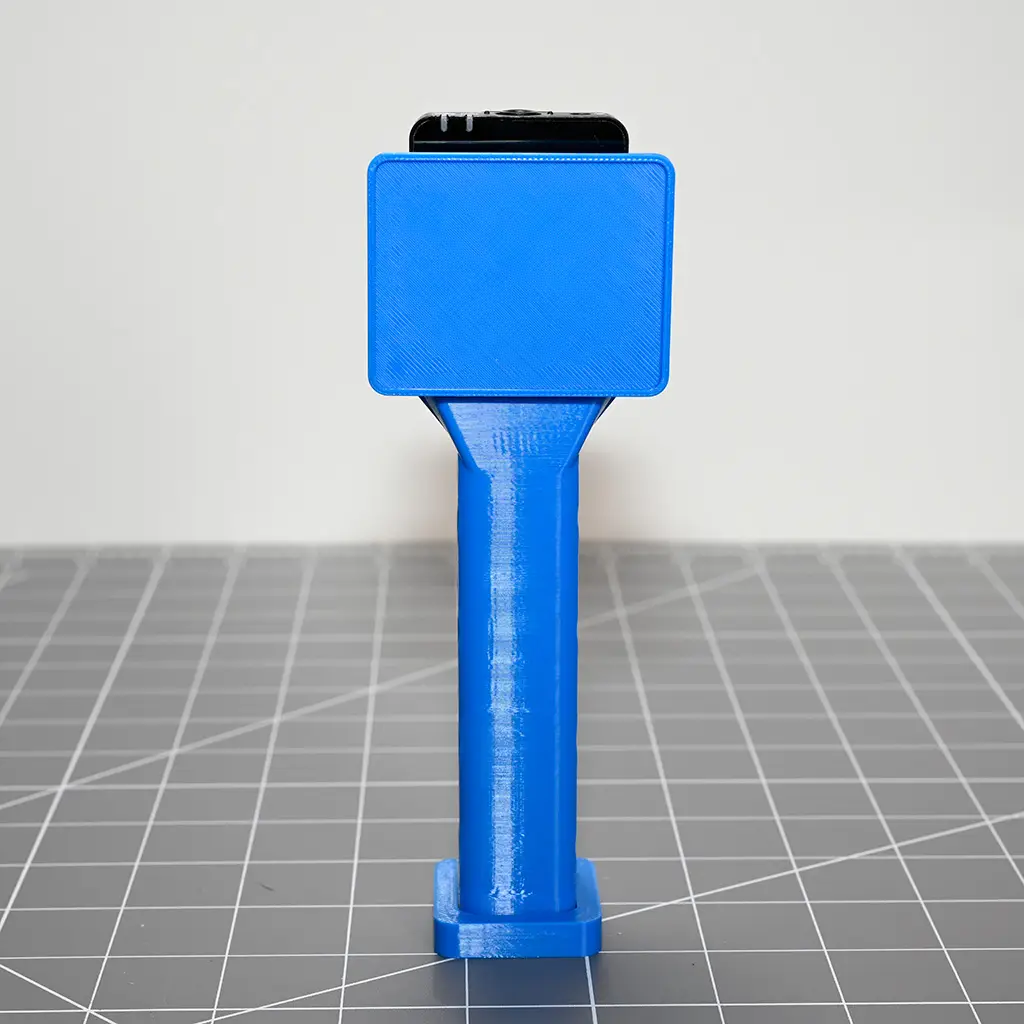
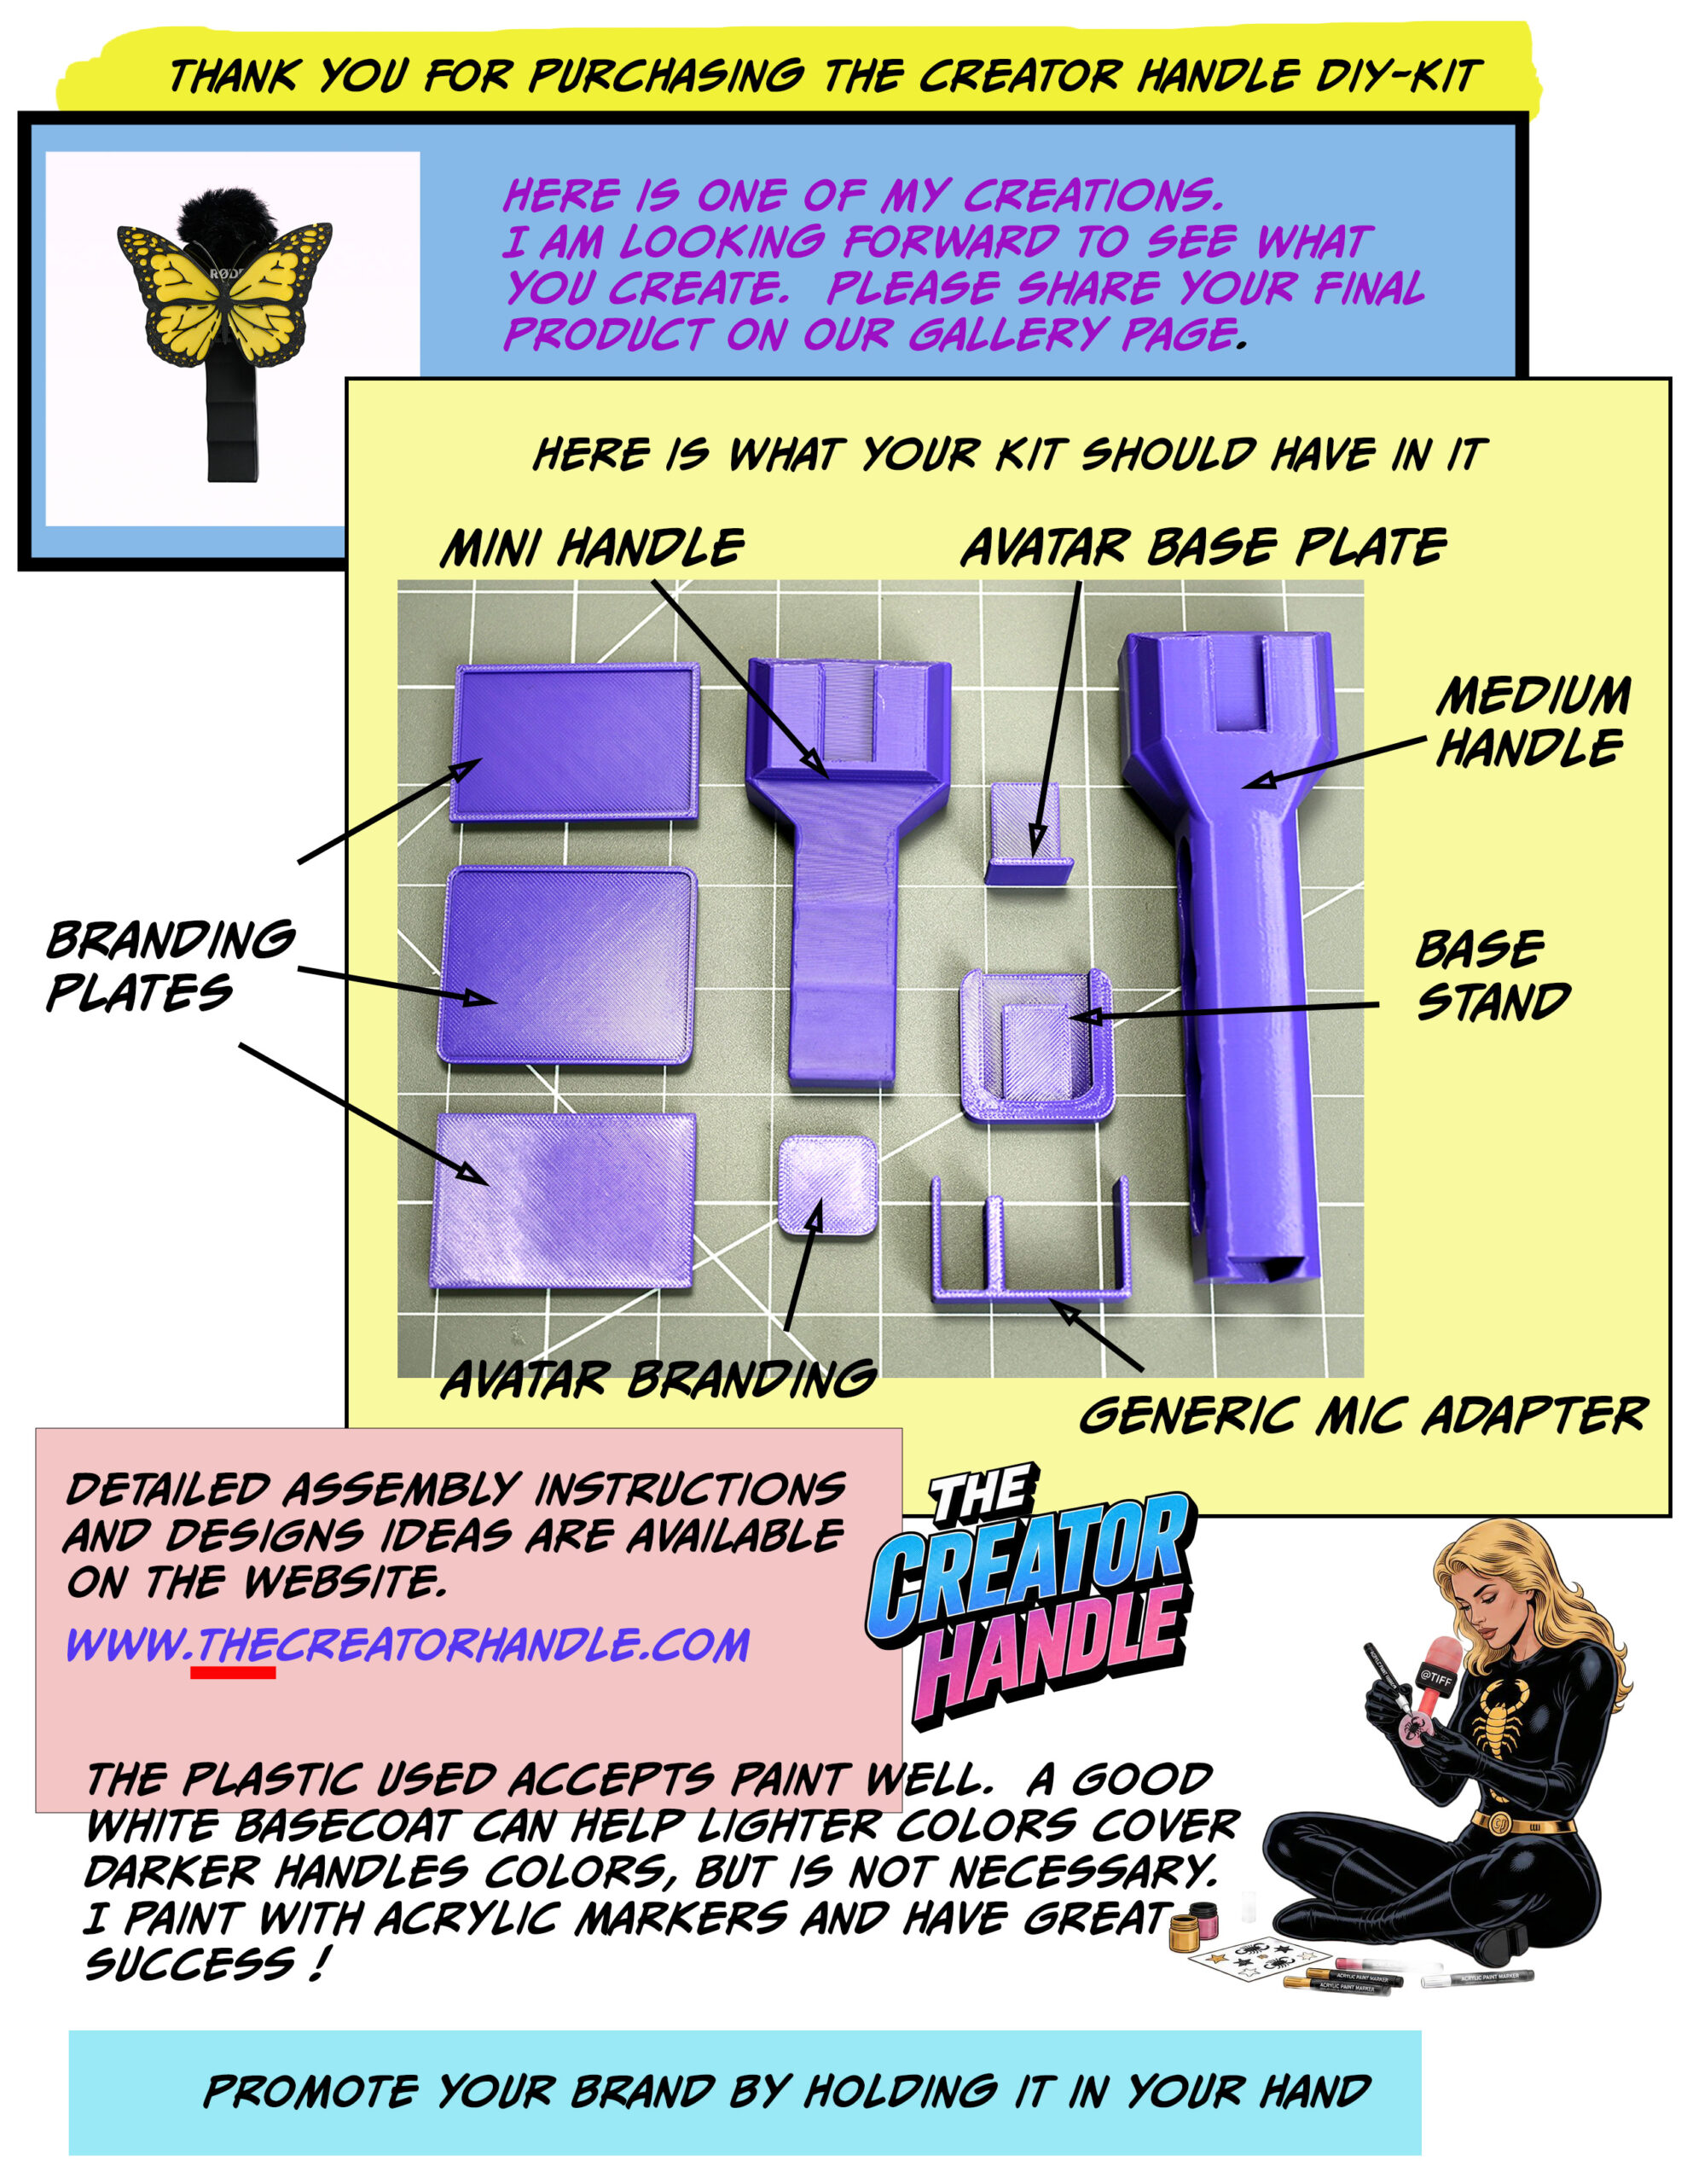
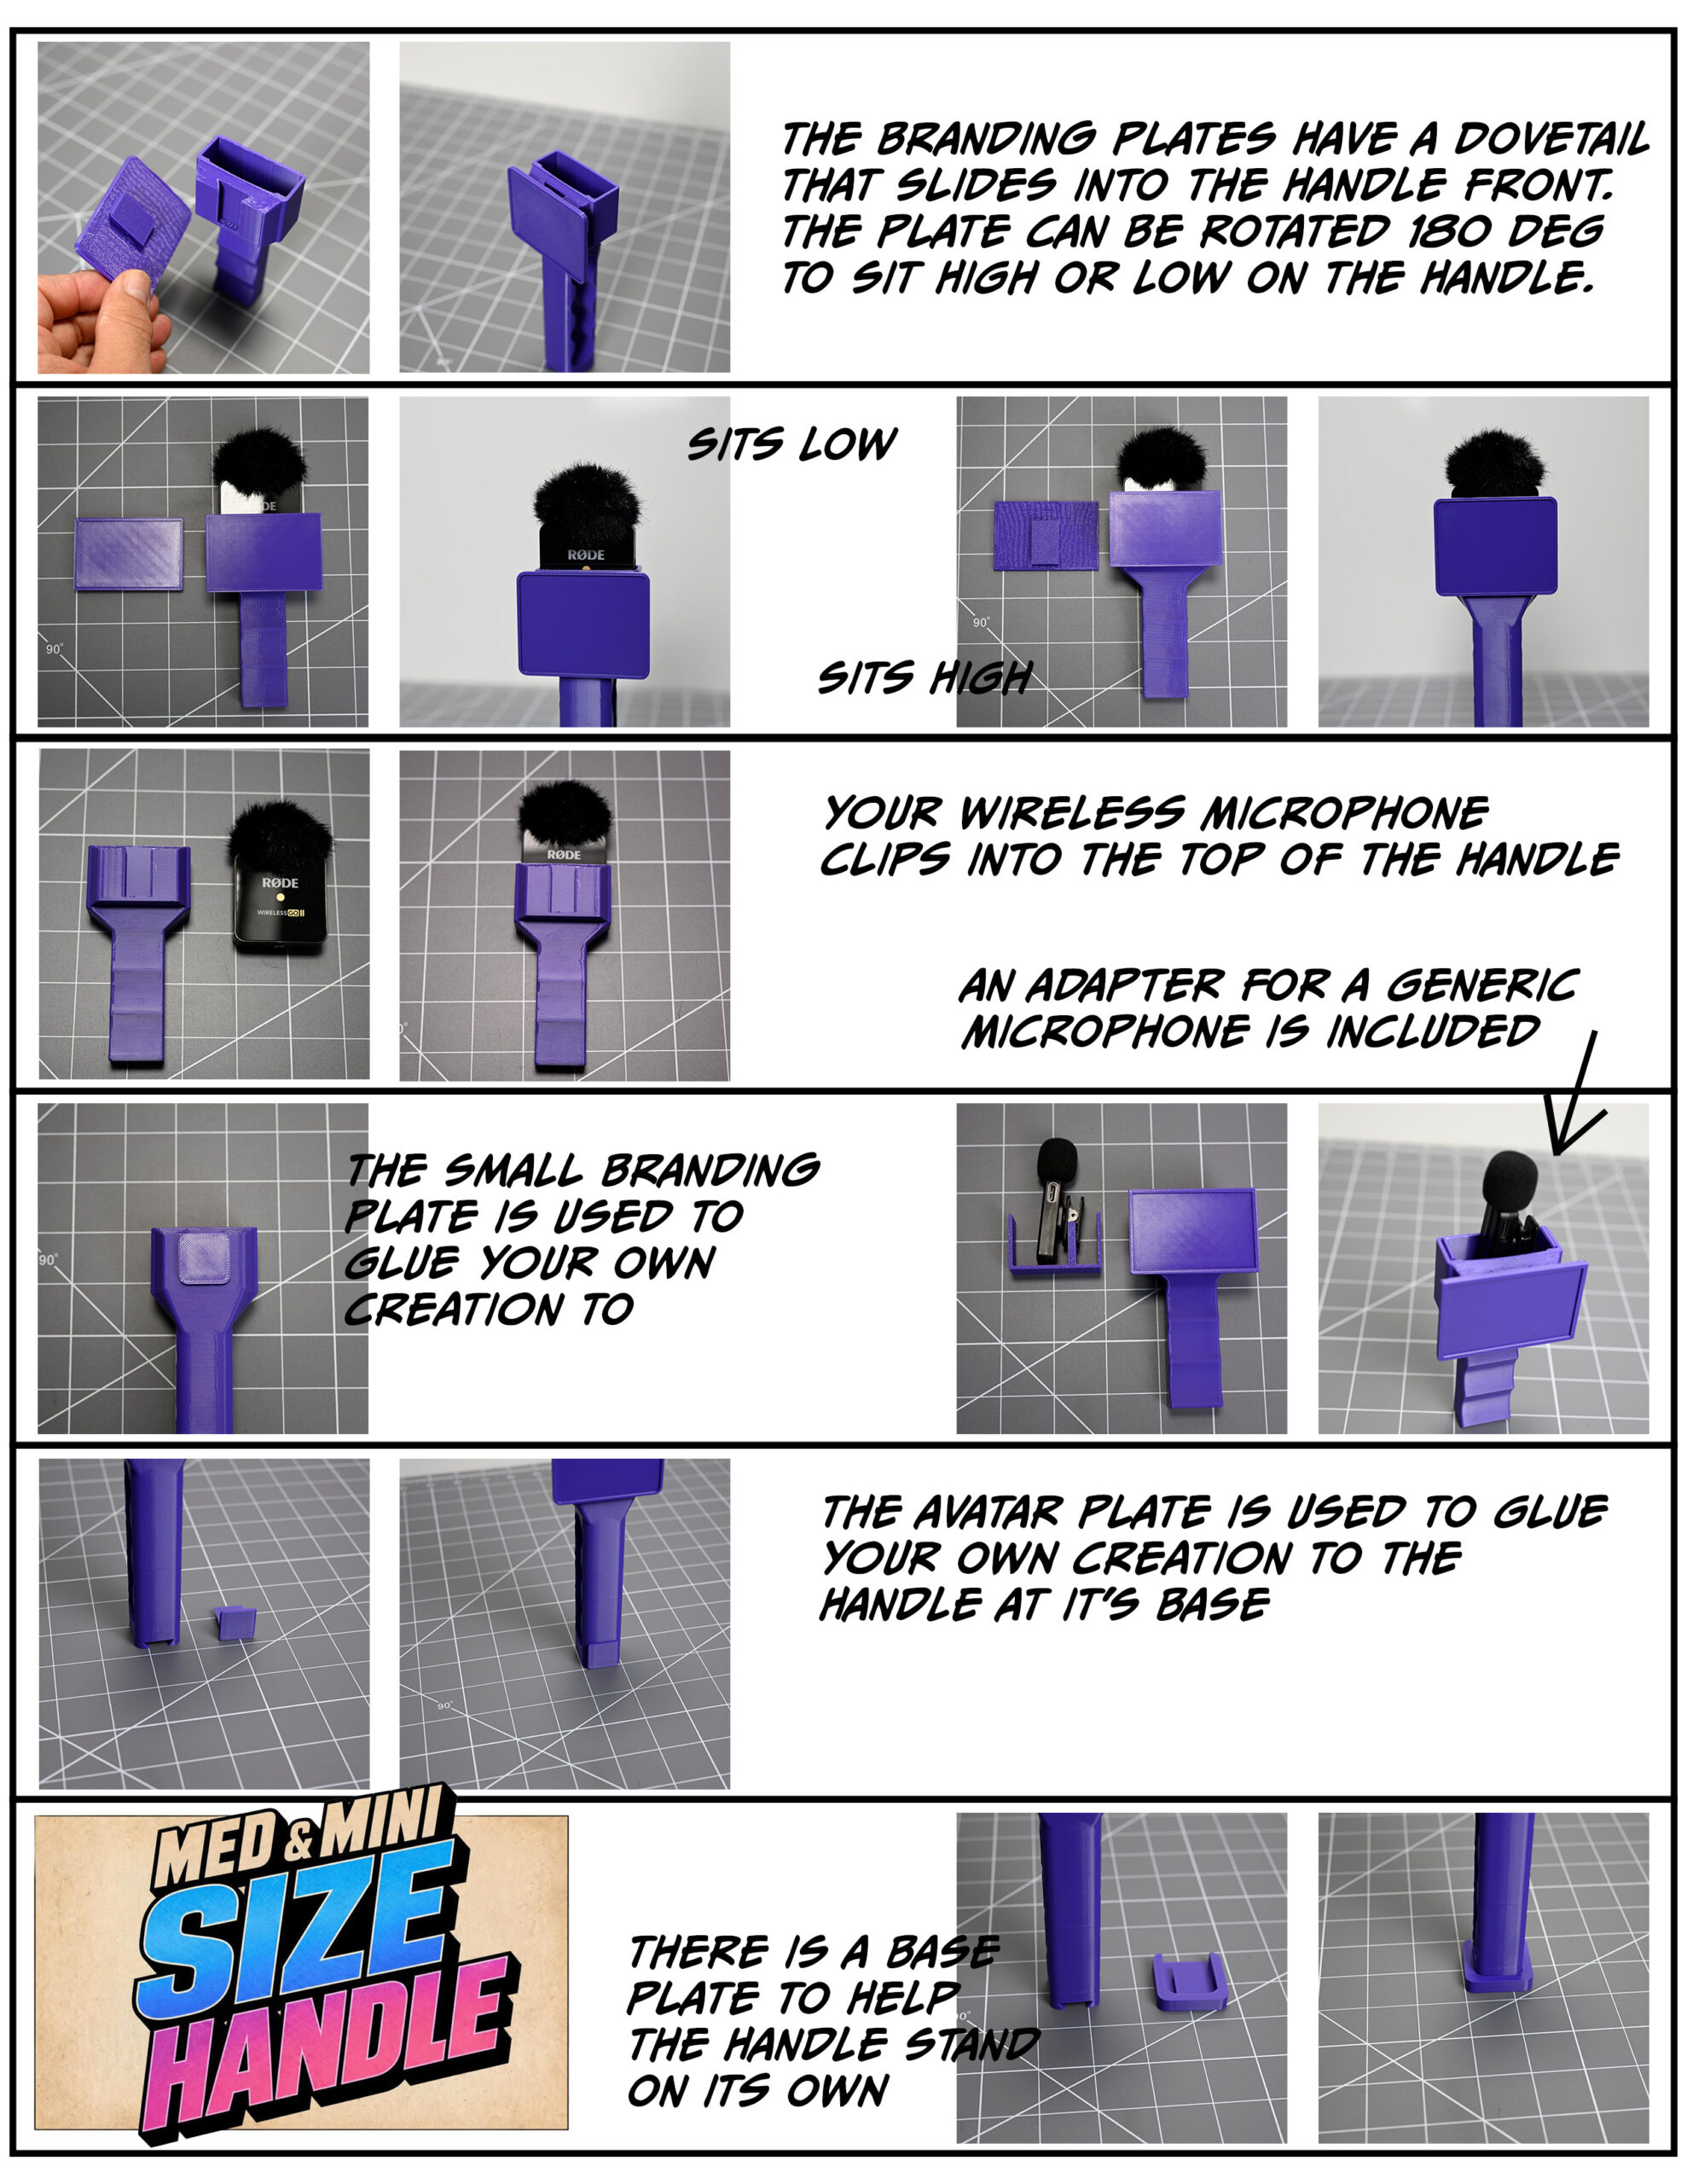
This is the medium size handle. Neither it or the mini use a foam cover. The medium size handle comes with a base plate that allows it to stand vertically on it’s own. The bottom of the medium handle also allows for an avatar to be attached in place of the base plate. As with both other sizes, the medium also features Branding Plates that you customize. The branding plate is design to be installed upright or inverted so that you can control how much of the microphone is showing. The slider shows both configurations.
This is just a picture of the back of the branding plate showing the offset dovetail which allows for both configurations. (load-outs, lol)
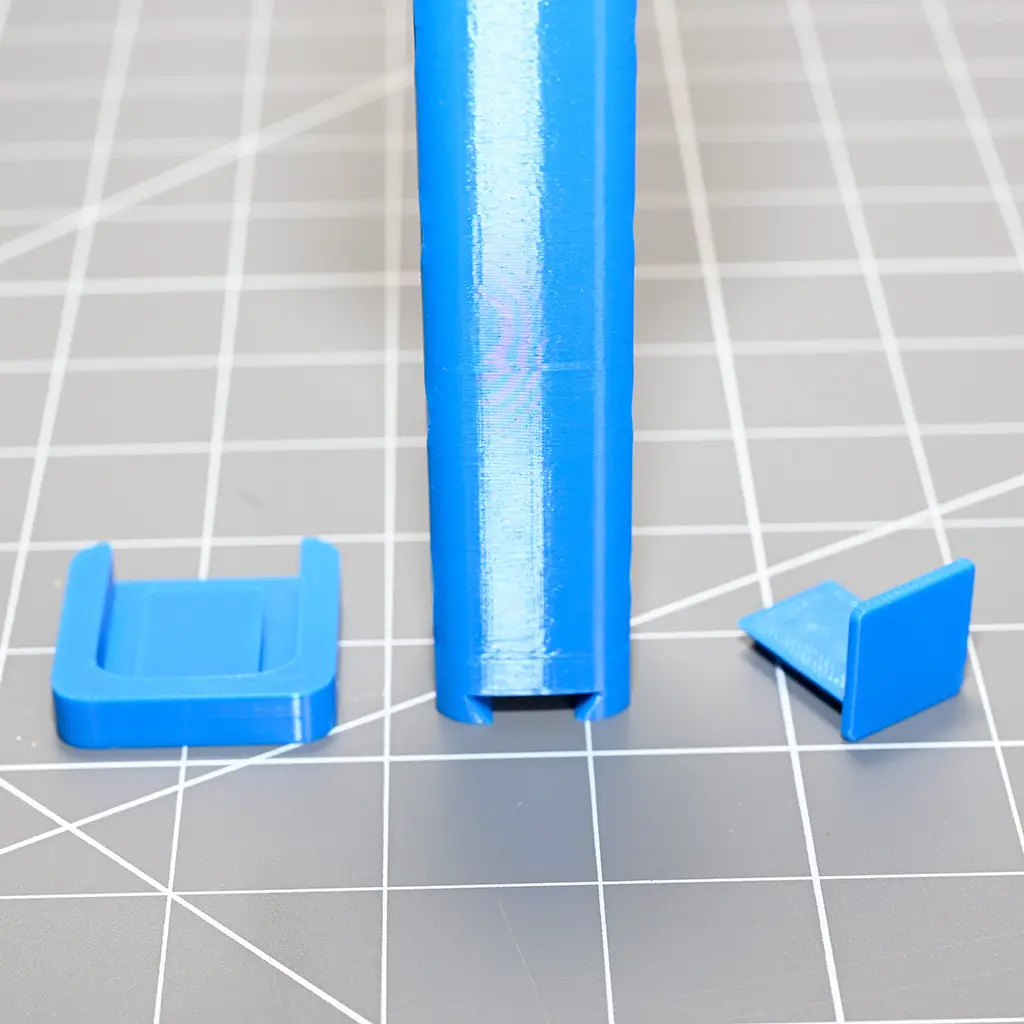
This shows a basic basplate to help the handle stand upright. There is also an interchangeable dovetail thingy that you can glue an avatar to.
This is the mini size handle. Neither it or the medium use a foam cover. The mini size handle only comes with Branding Plates. All Branding Plates included with the DIY-Kit will fit the mini size handle, but the plates specific to the mini will hold them up higher to cover the inserted microphone and not your fingers. Your custom avatars can be glued to the Branding Plates.
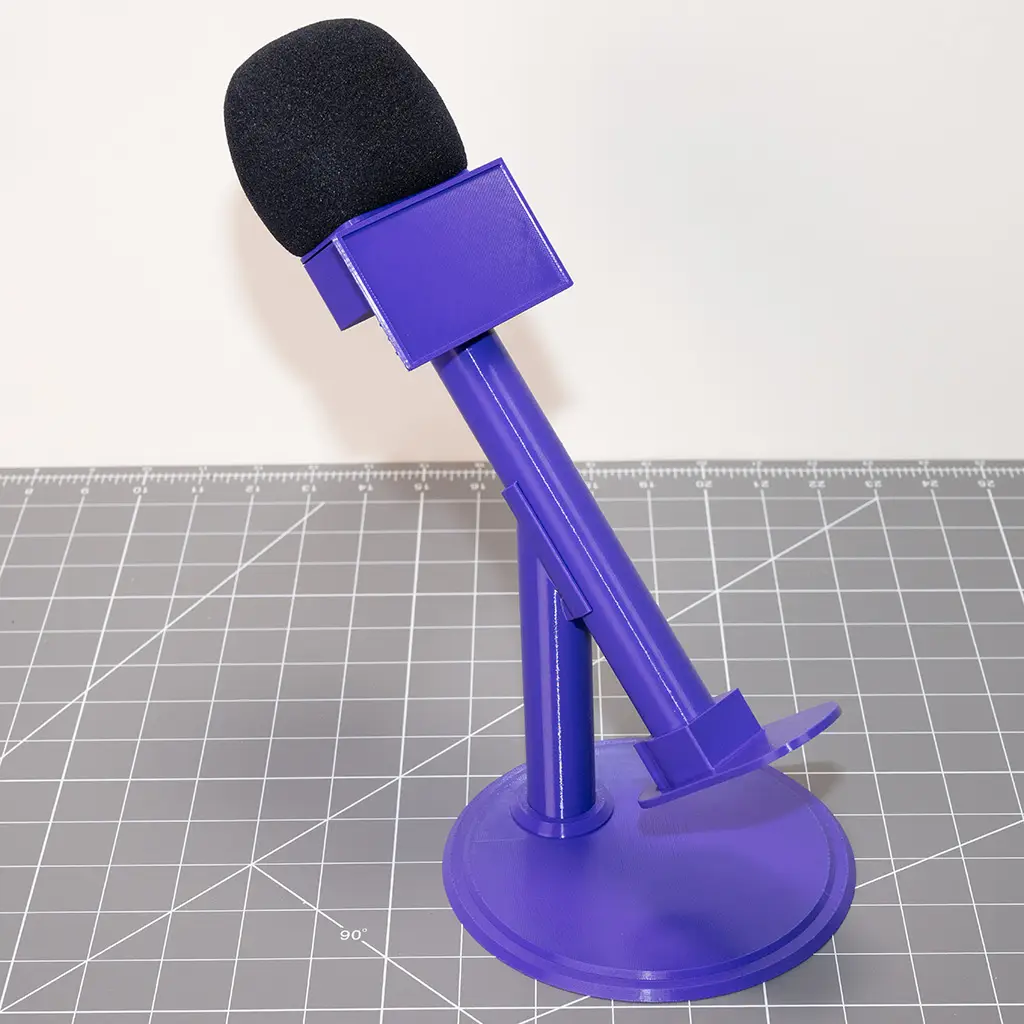
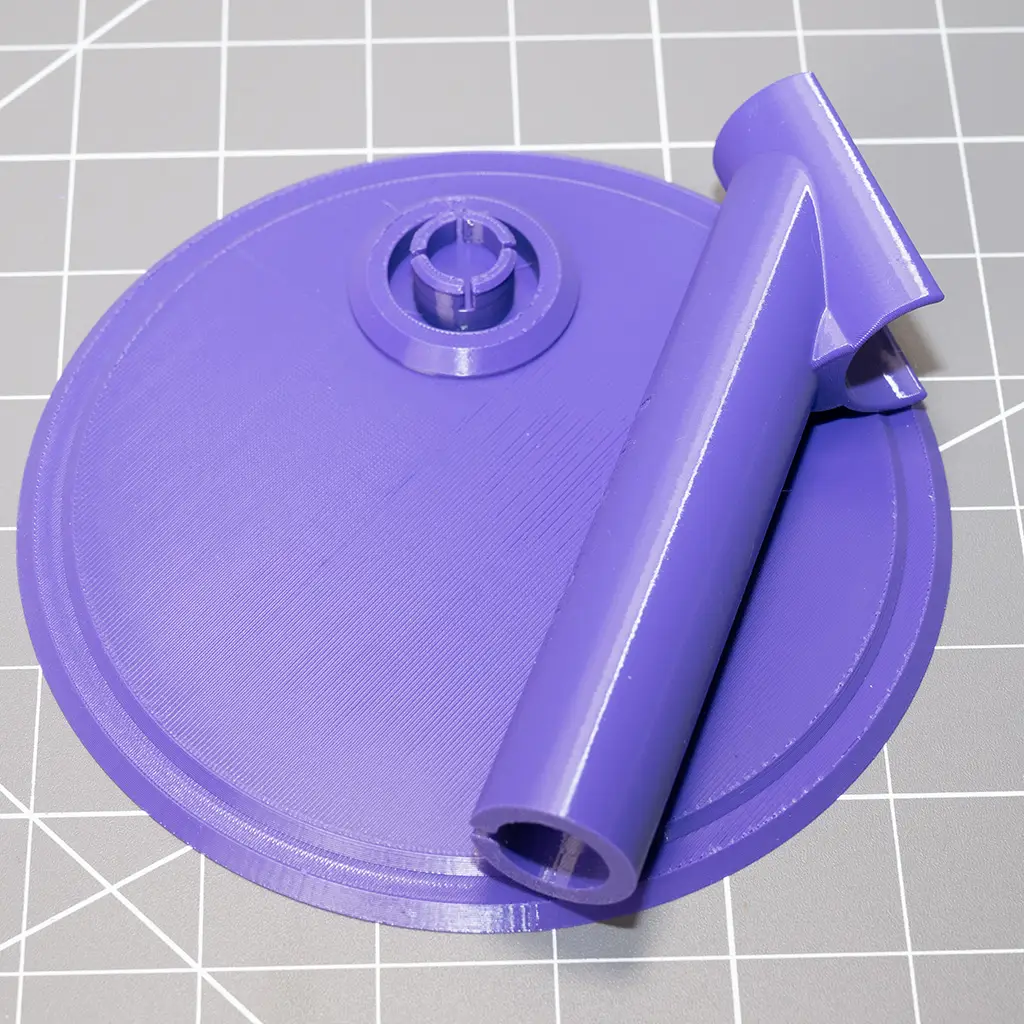
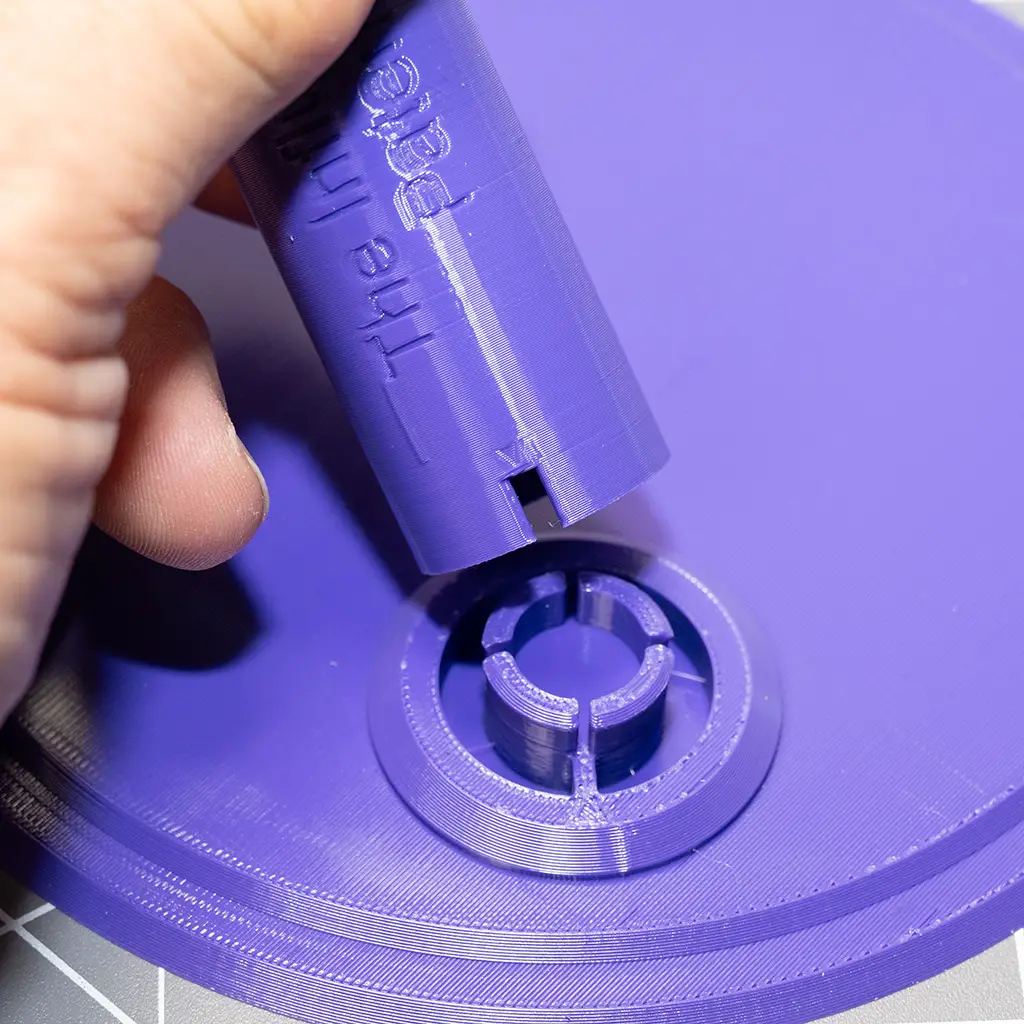
This is the desktop stand. It will ship to you in two parts. The cylindrical upright is snap-fitted into the round base. It will only go in one direction. Once the two are joined, it is NOT intended to take them apart again.
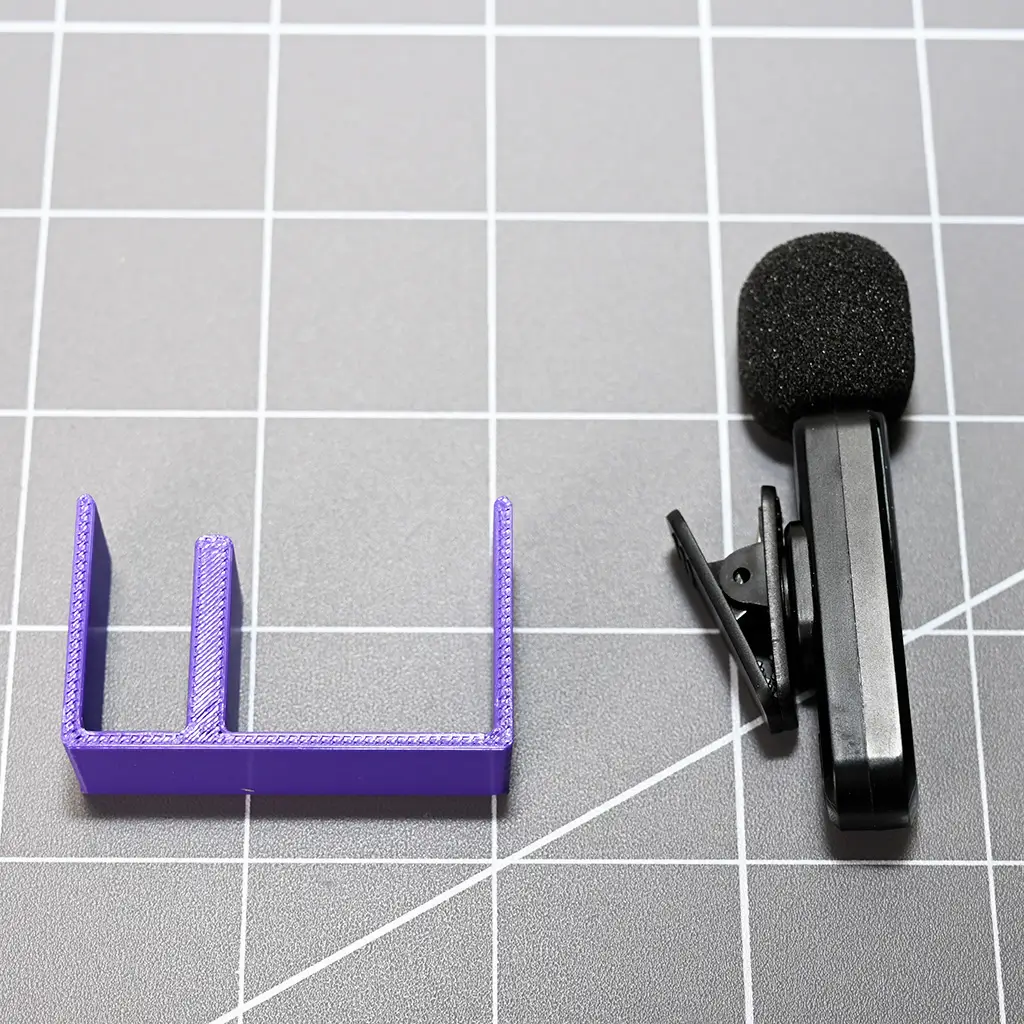
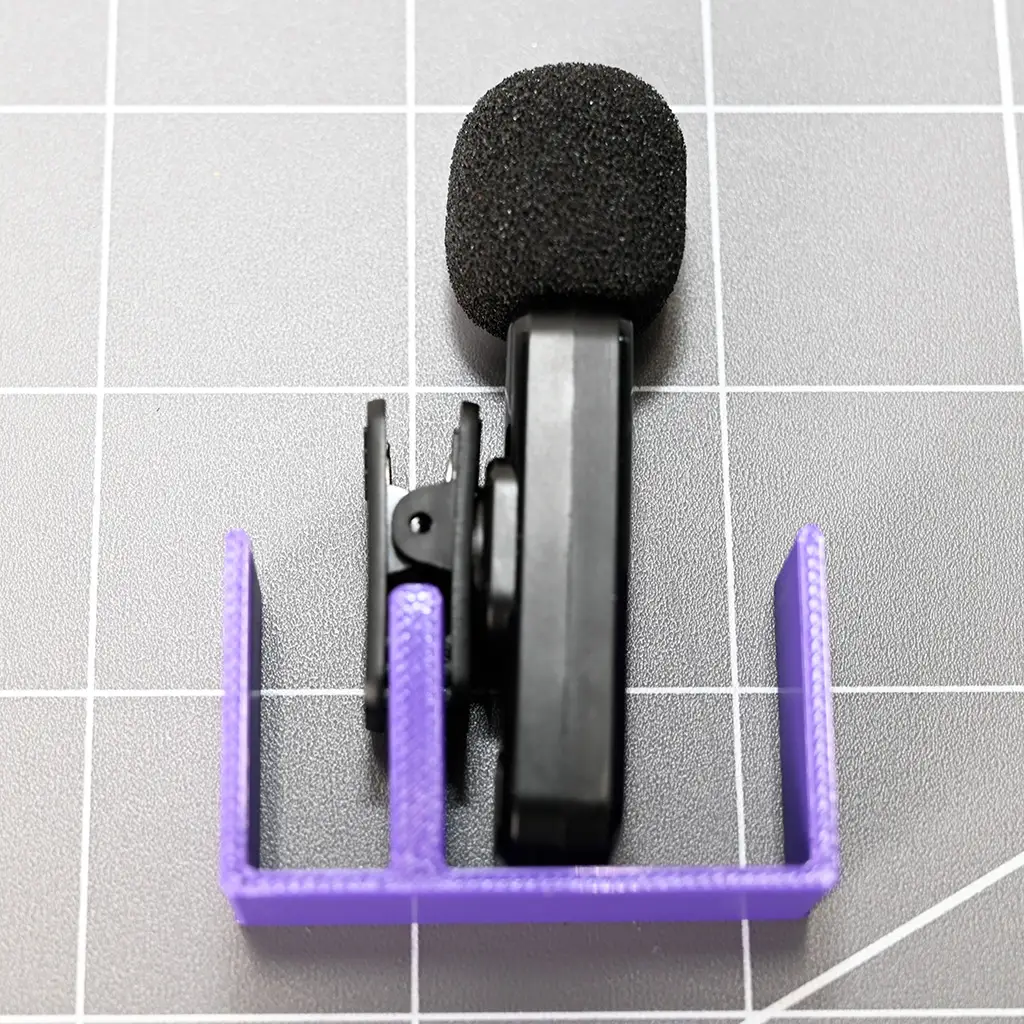
This is the generic microphone adpater. It is intended for use with long retangular microphones other than the DJI and RODE.